How to Create a Resource from a Blueprint
There are a couple of convenient ways to start creating a new resource from a blueprint:-
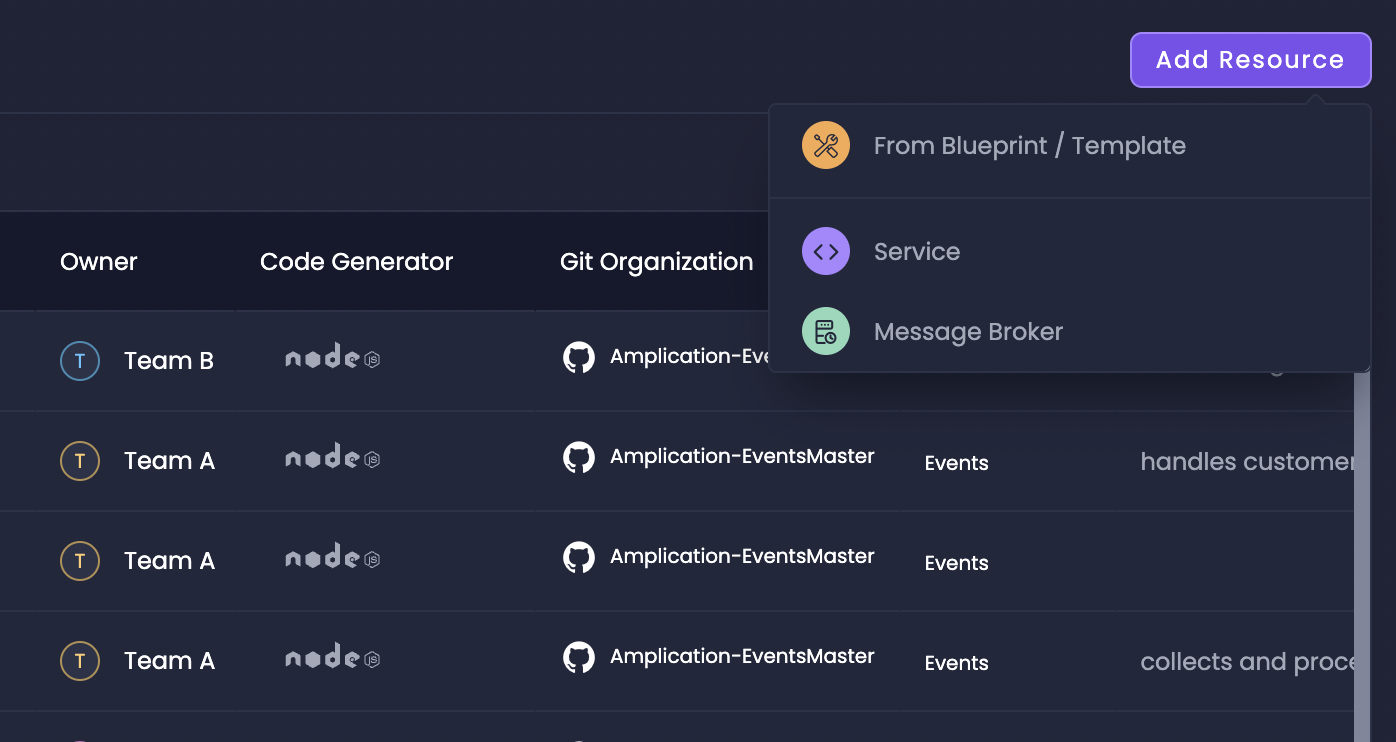
From the Workspace Catalog:
Navigate to the Workspace Catalog
Go to your Amplication workspace and select the Workspace Catalog tab. -
From Within a Specific Project:
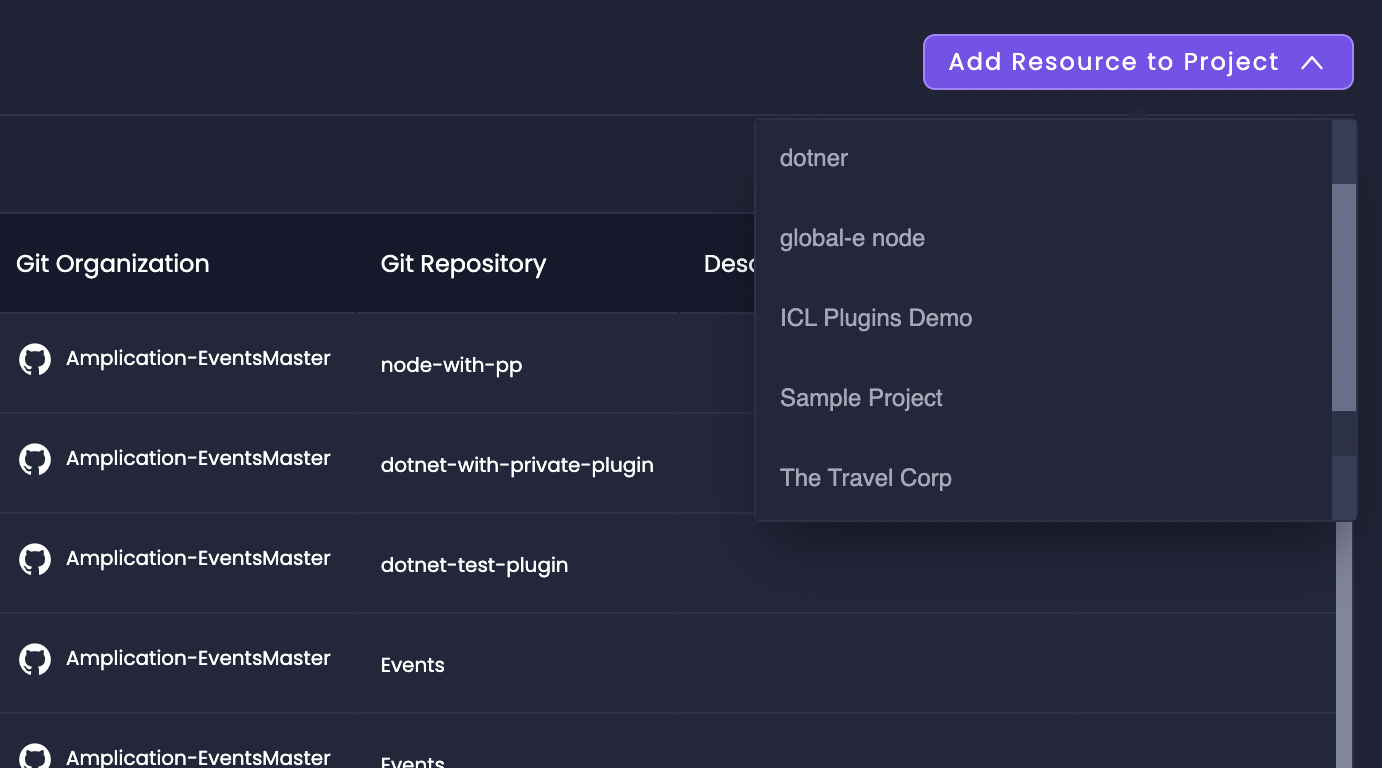
Configuring Your New Resource
Once you’re on the Create a new resource in the catalog page, you’ll configure the details for your new service:Project and Blueprint Selection
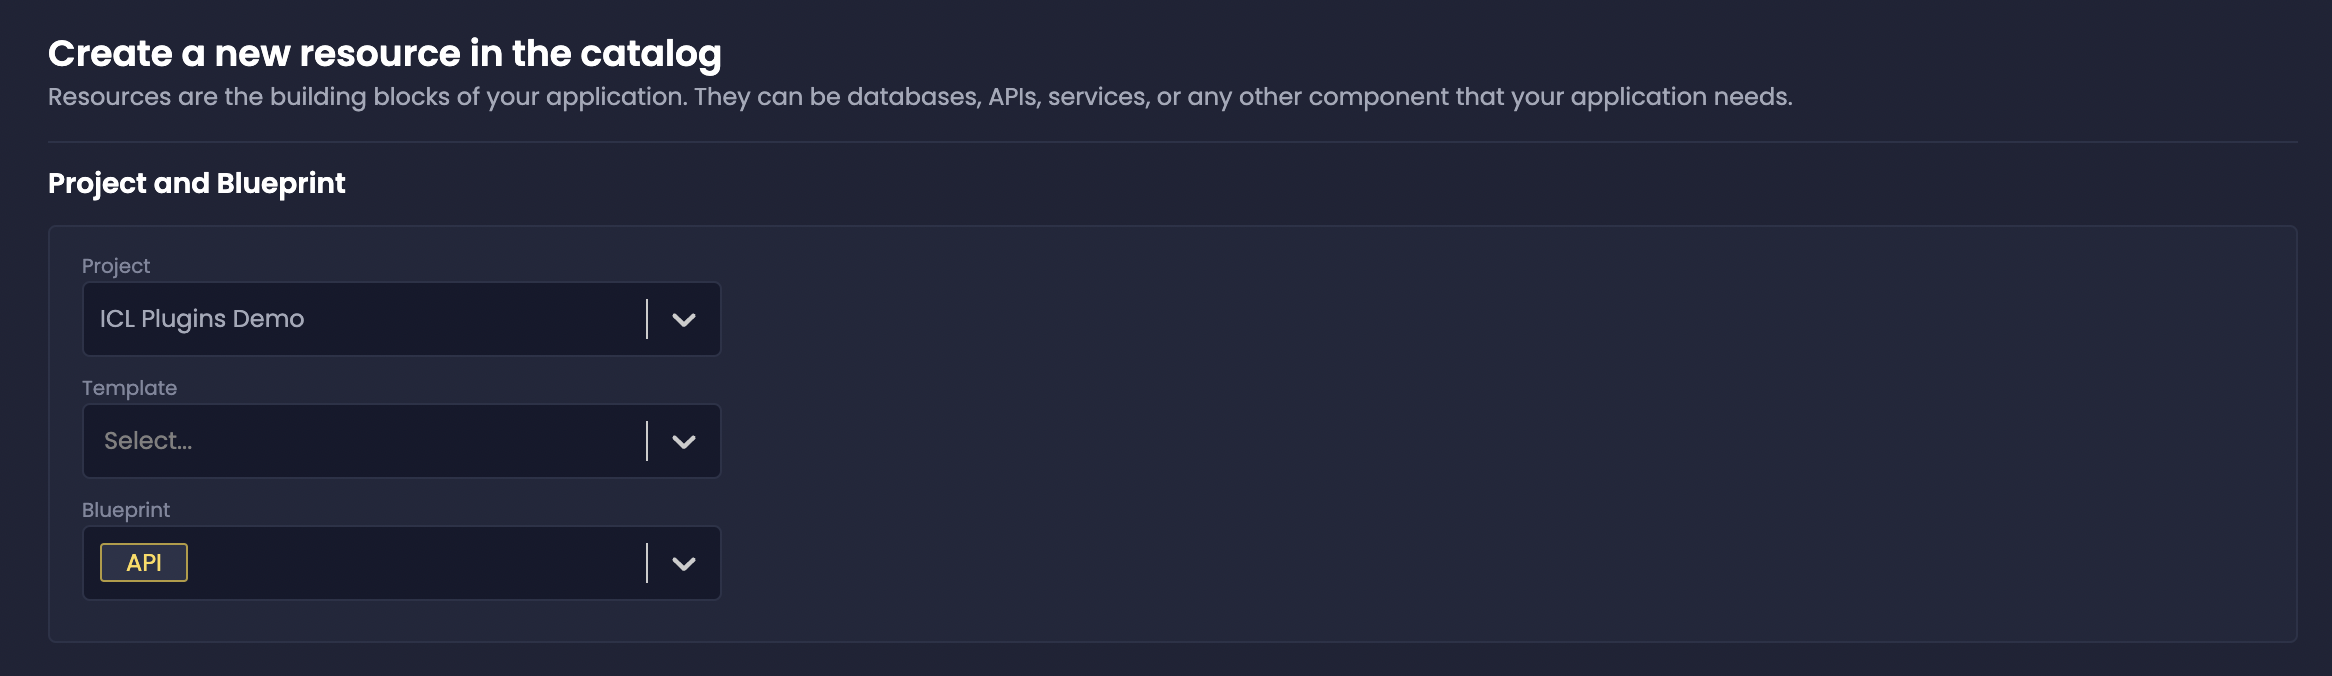
You’ll see two dropdown menus: template and blueprint.
Select the desired blueprint from the dropdown. For example, you might select an “API” blueprint.
Resource Details
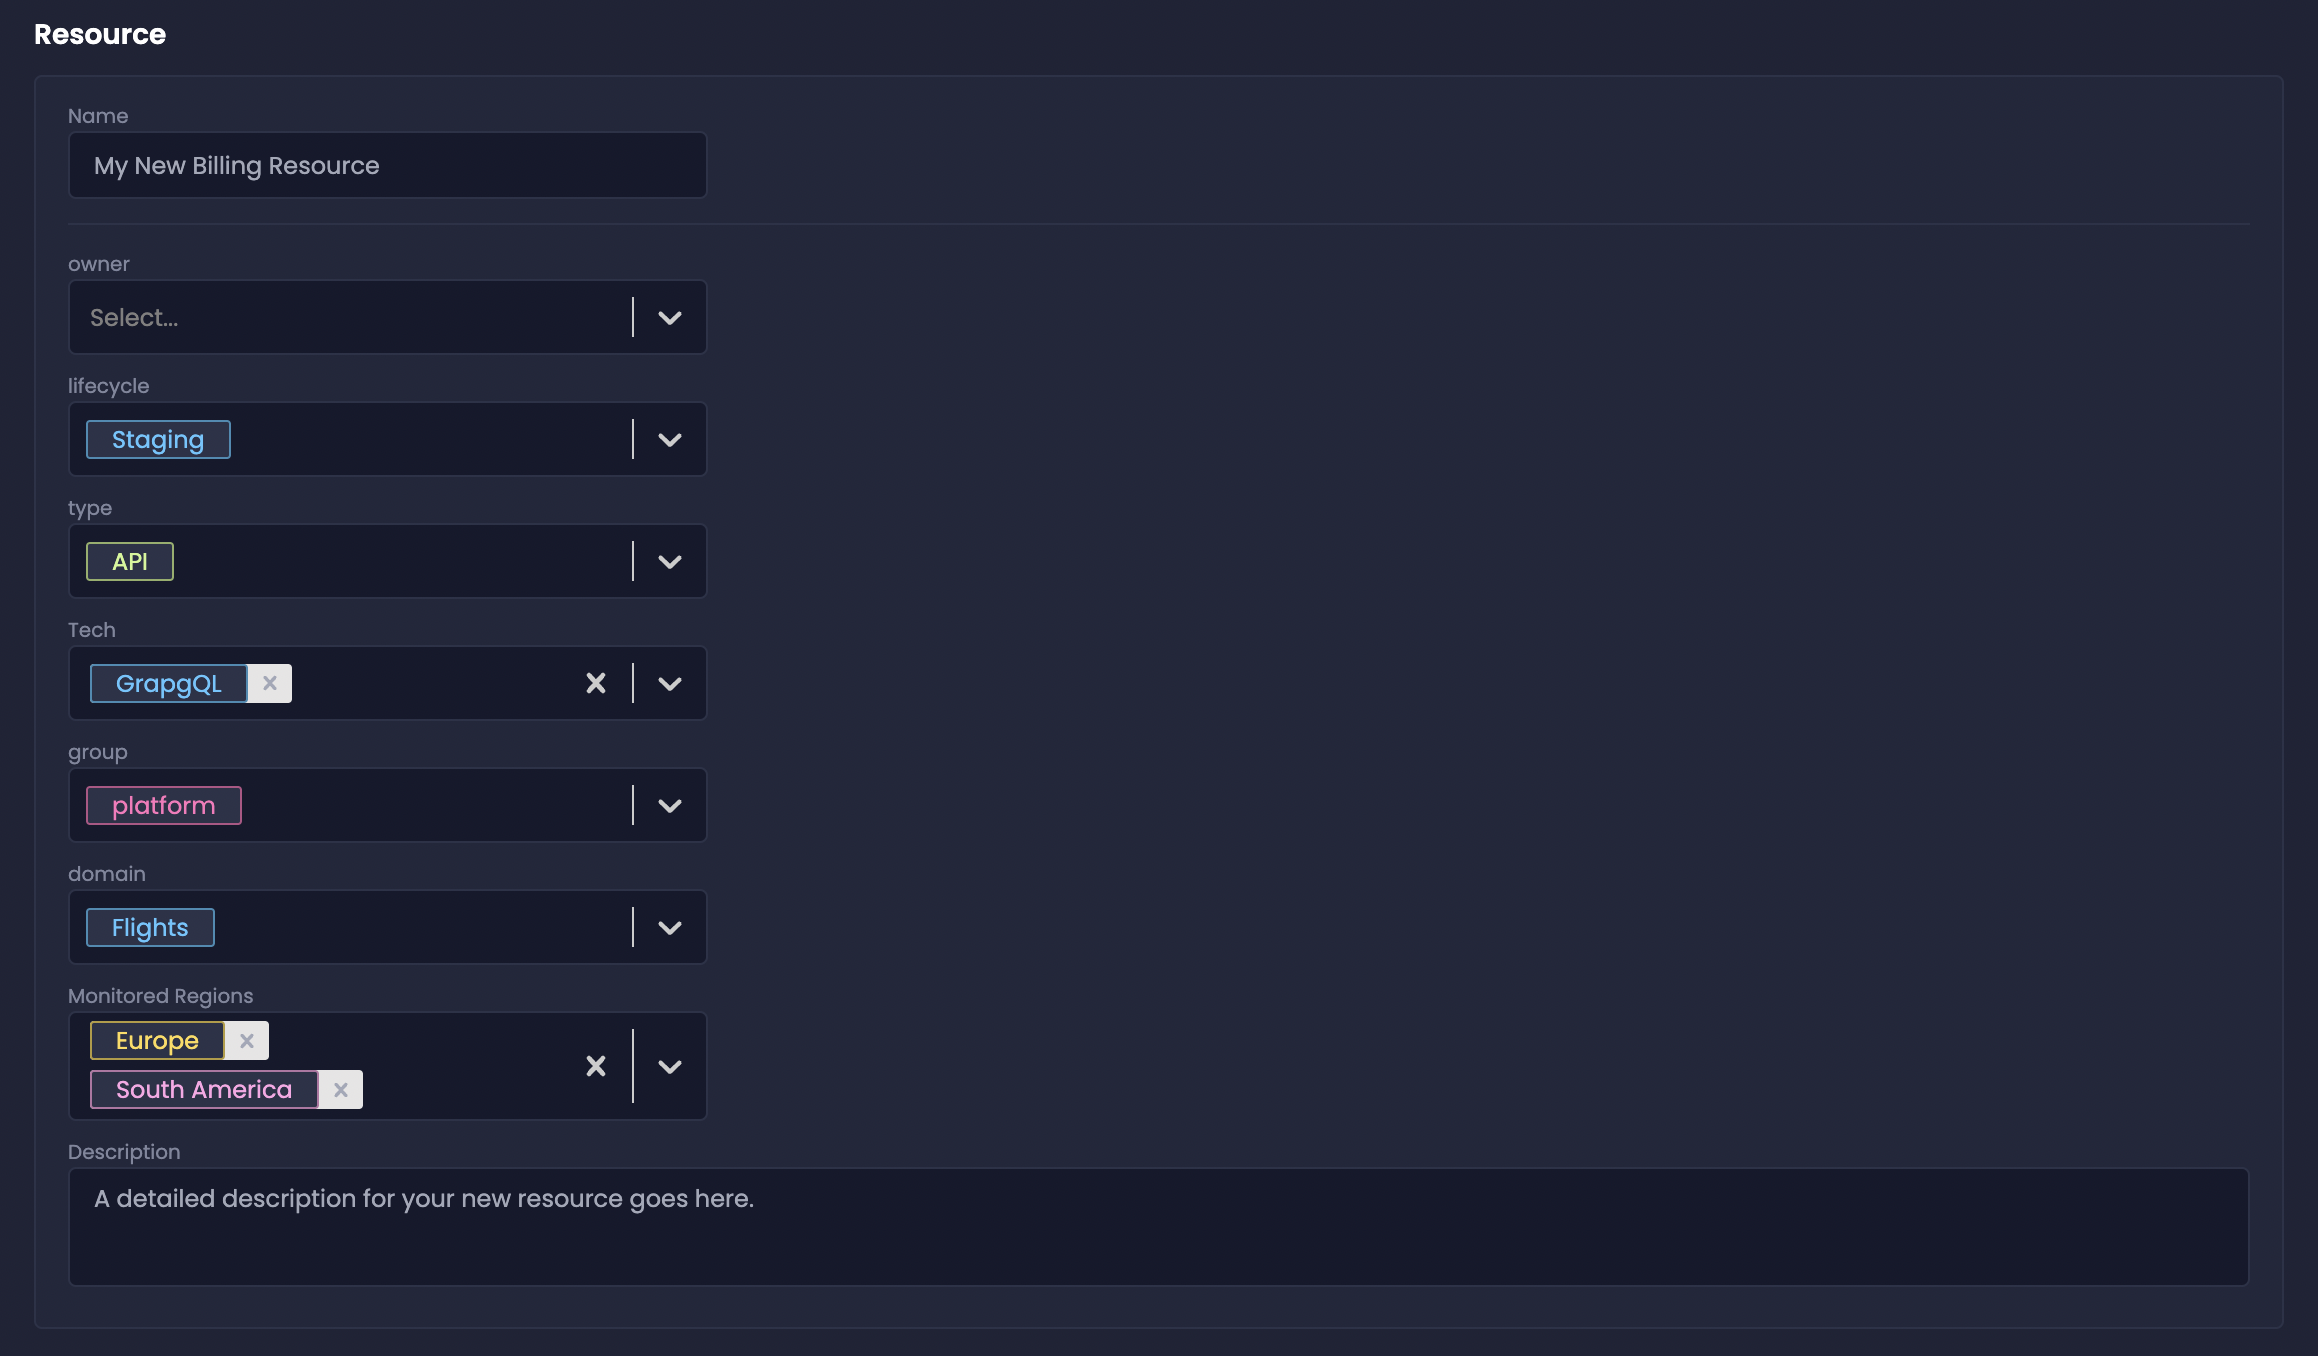
In the Resource section, provide the following information:
- Name: Give your new resource a descriptive name (e.g., “BillingService”).
- Description: Add a brief description for the resource.
- Catalog Properties: Your platform team may have defined specific catalog properties to help organize and categorize resources. Fill in the required and any relevant optional properties. These might include things like “Tech,” “Type,” “Domain,” and “Lifecycle.”
Learn more about how catalog properties help organize your resources in the Catalog Properties page.
Git Repository Settings
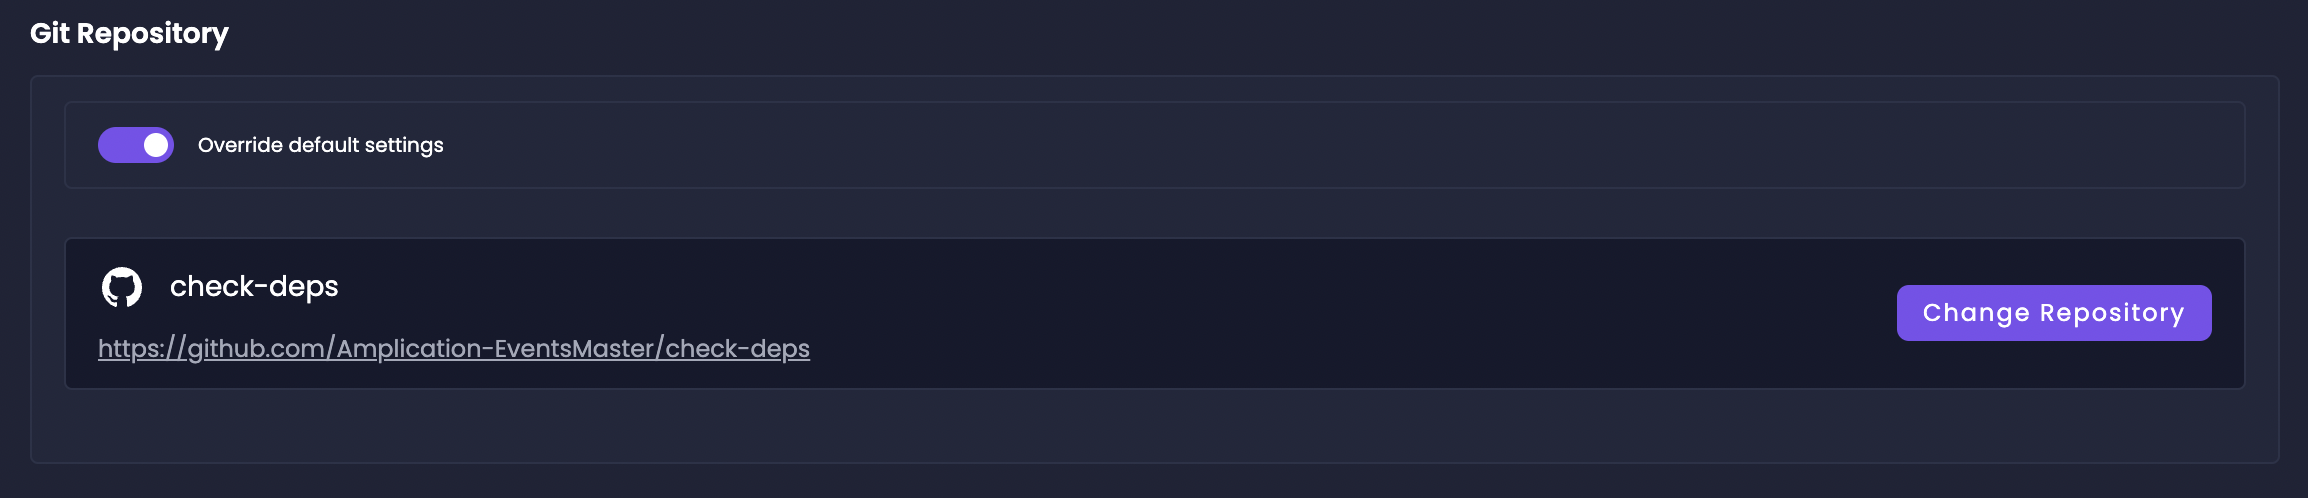
By default, your new resource will be associated with the default Git repository configured for the project.
If you need to use a different repository:
- Click the Override Default Settings slider.
- Select the desired Git organization.
- Choose the specific repository you want to associate with this resource.
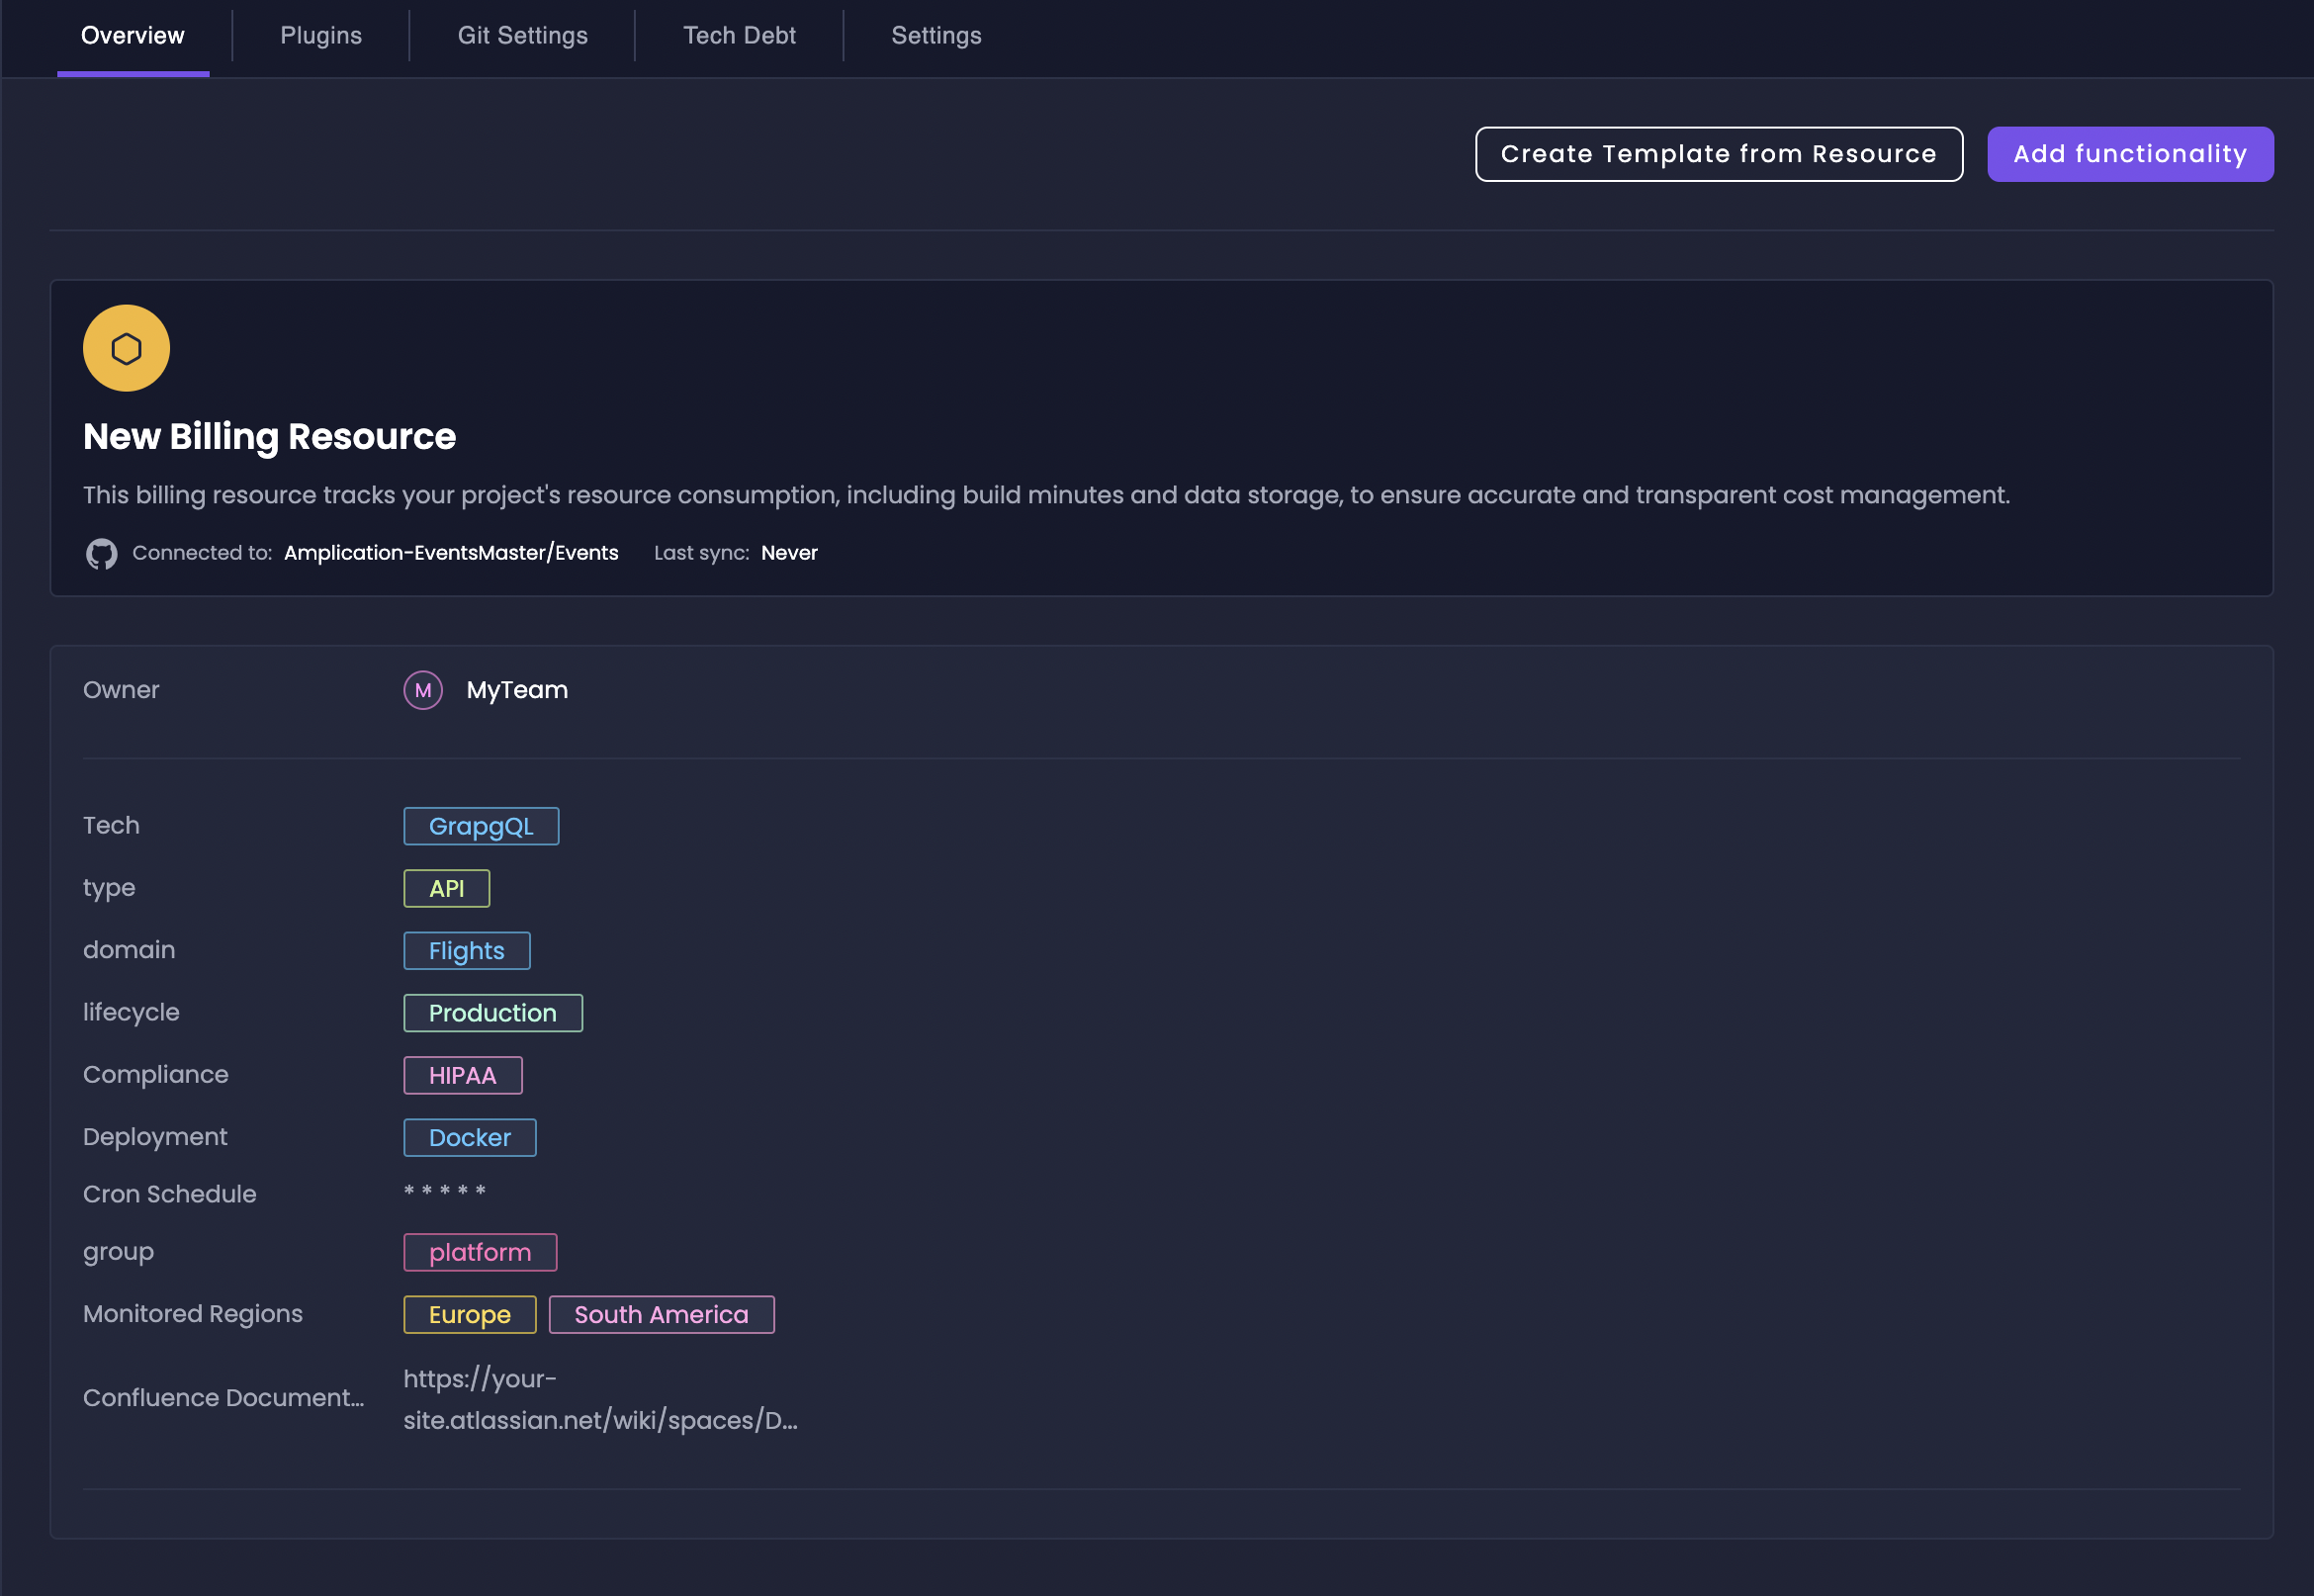
Exploring Your New Resource
After creating your resource, you’ll be automatically taken to its Overview page.- Name and Description: The name and description you provided.
- Catalog Properties: The catalog properties you set during creation.
- Owner: The team or individual responsible for the resource.
- Plugins: Add functionality and integrations by installing plugins. If your platform team is using blueprints, you’ll see any private plugins available to you.
- Git Settings: Review or override the Git repository settings if needed.
- Tech Debt: Monitor potential technical debt alerts related to your resource.
- Settings: Modify the resource’s name, description, owner, and catalog properties.
Remember to click the Generate the Code button in the Pending Changes section in the right sidebar to apply any modifications you make to your resource.