Documentation Index
Fetch the complete documentation index at: https://docs.amplication.com/llms.txt
Use this file to discover all available pages before exploring further.
What Are Types and Actions?
Types in Amplication primarily refer to Data Transfer Objects (DTOs). They are custom data structures that define the shape of data moving in and out of your APIs. DTOs specify the fields and their types for your API’s input and output, creating clear contracts for data exchange. You’ll work with two categories of types:- DTOs: Custom data structures composed of fields
- Primitives: Basic data types like
String,Integer,Boolean,Date, andJSON
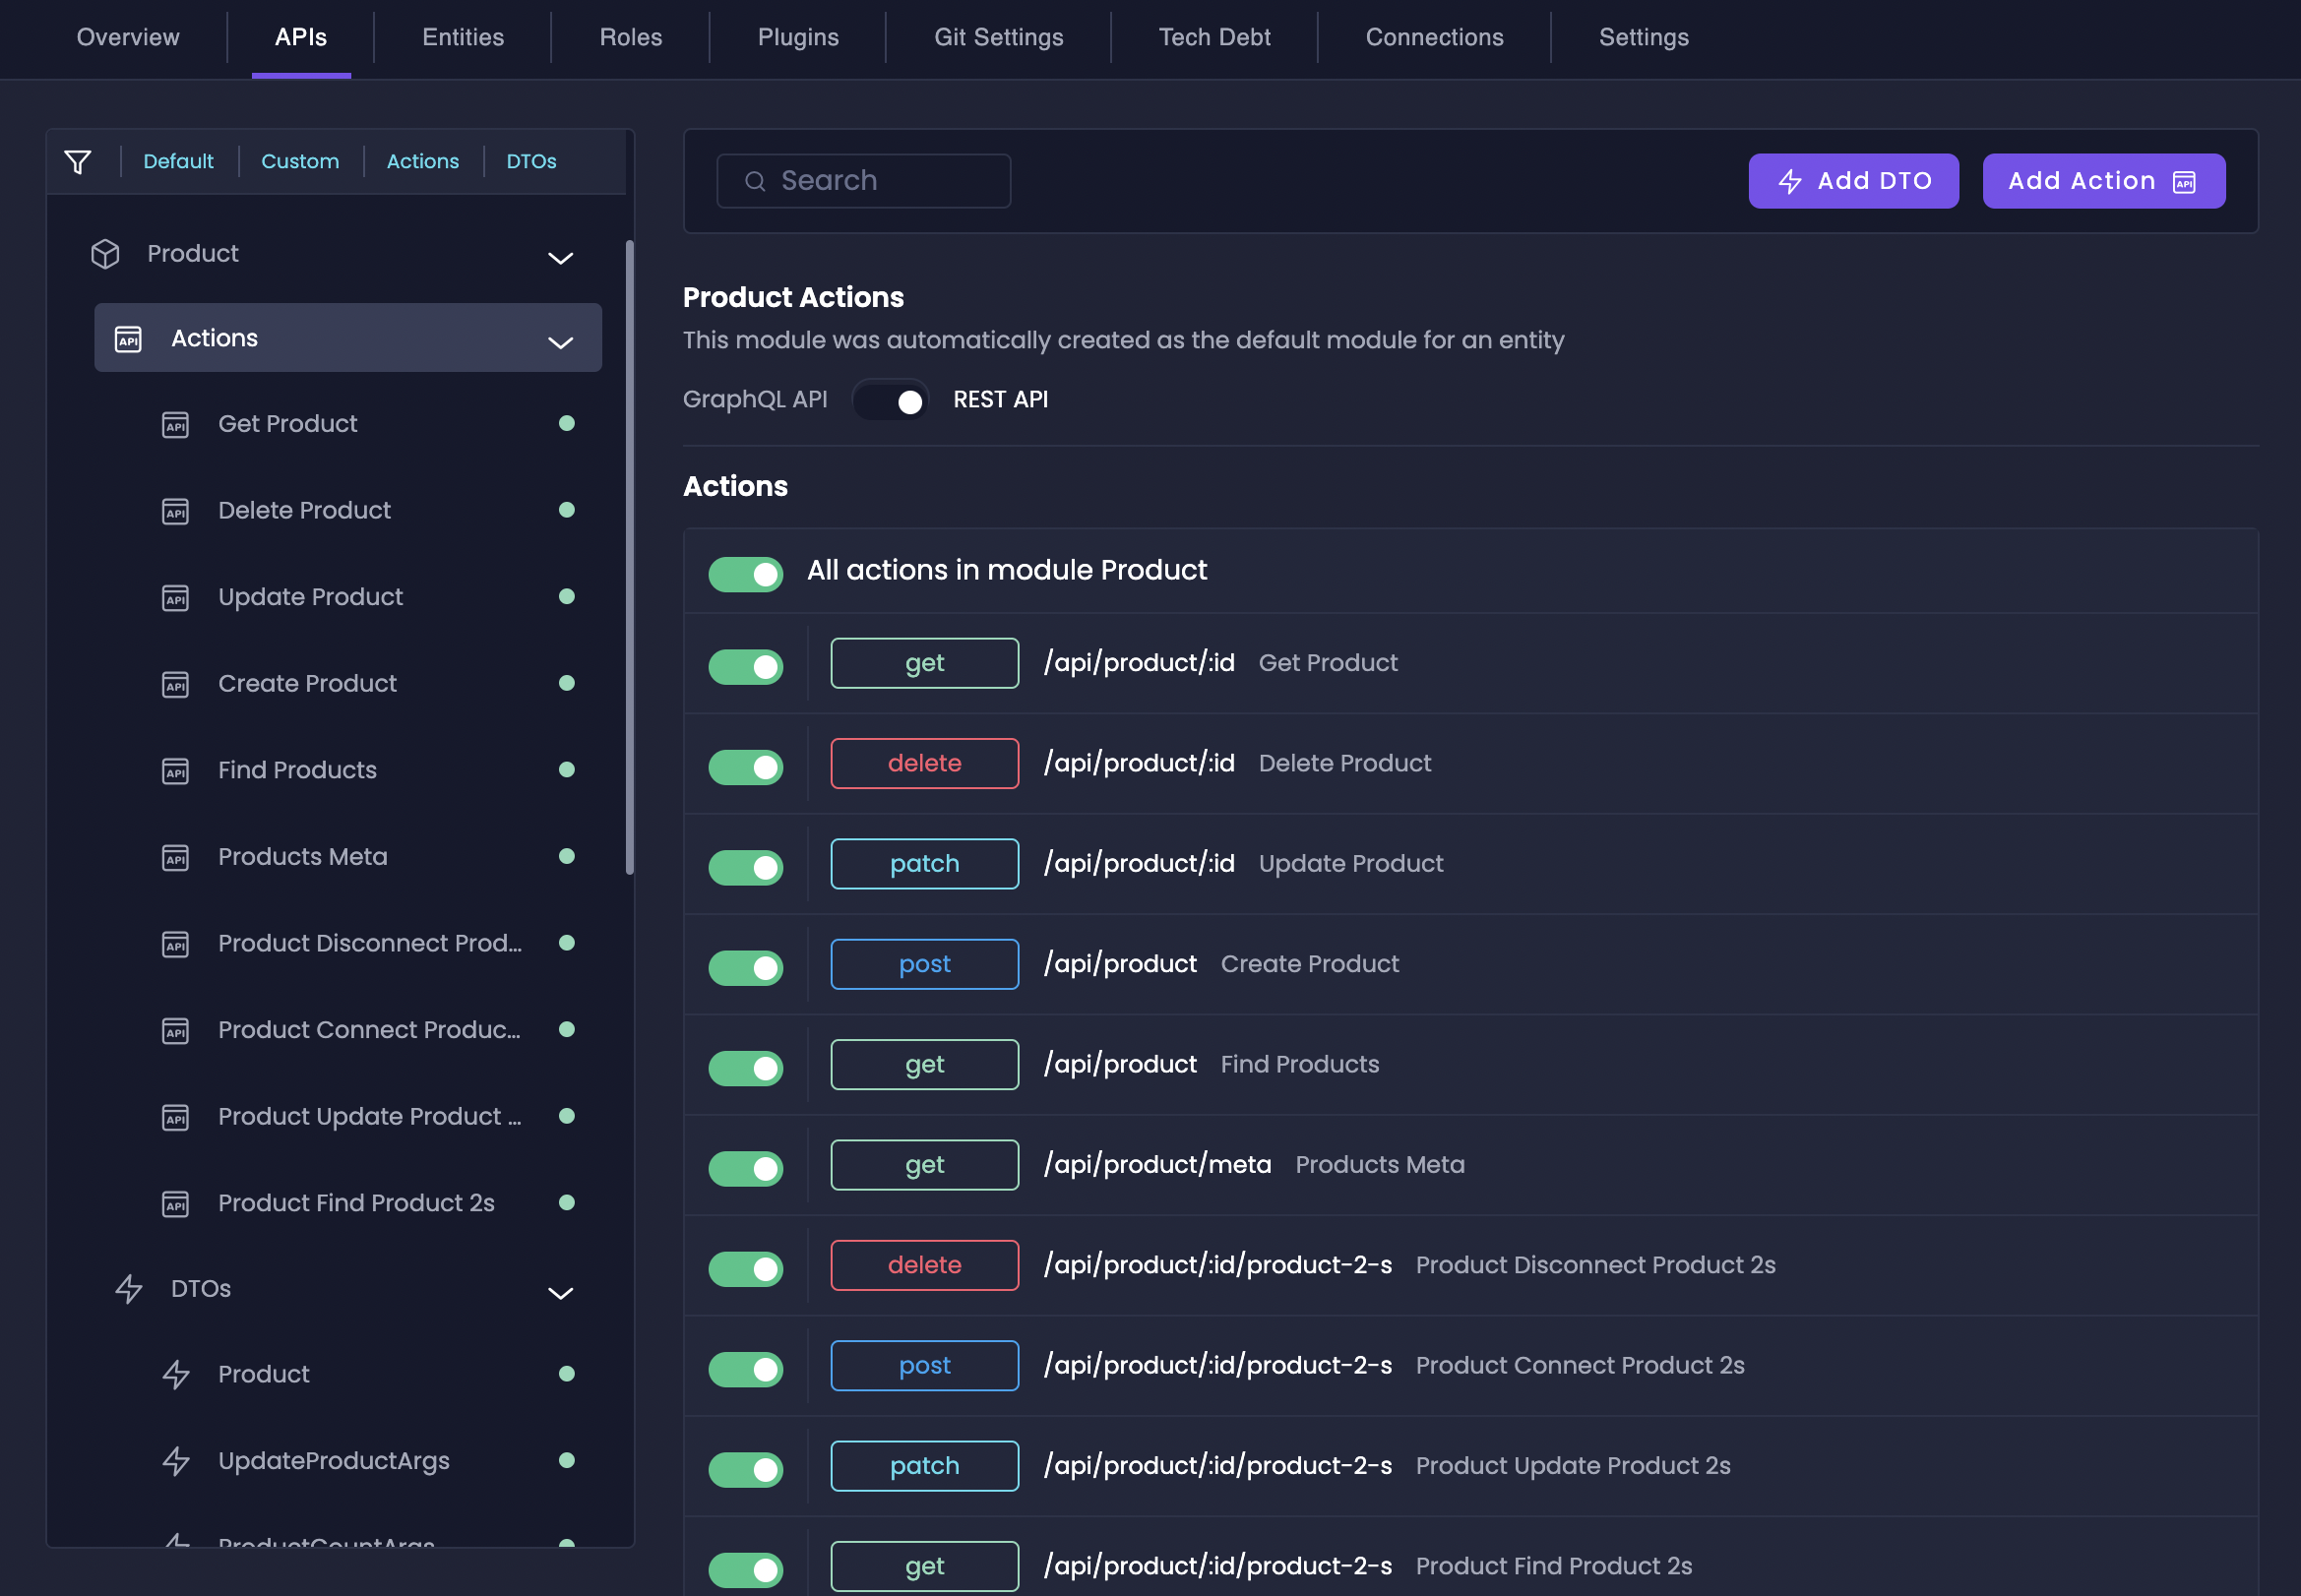
- Default CRUD Actions: Amplication automatically creates standard Create, Read, Update, and Delete operations for your data entities
- Custom Actions: Your custom-defined endpoints for specific business logic beyond CRUD operations
Access Custom Types & Actions
Navigate to APIs Tab
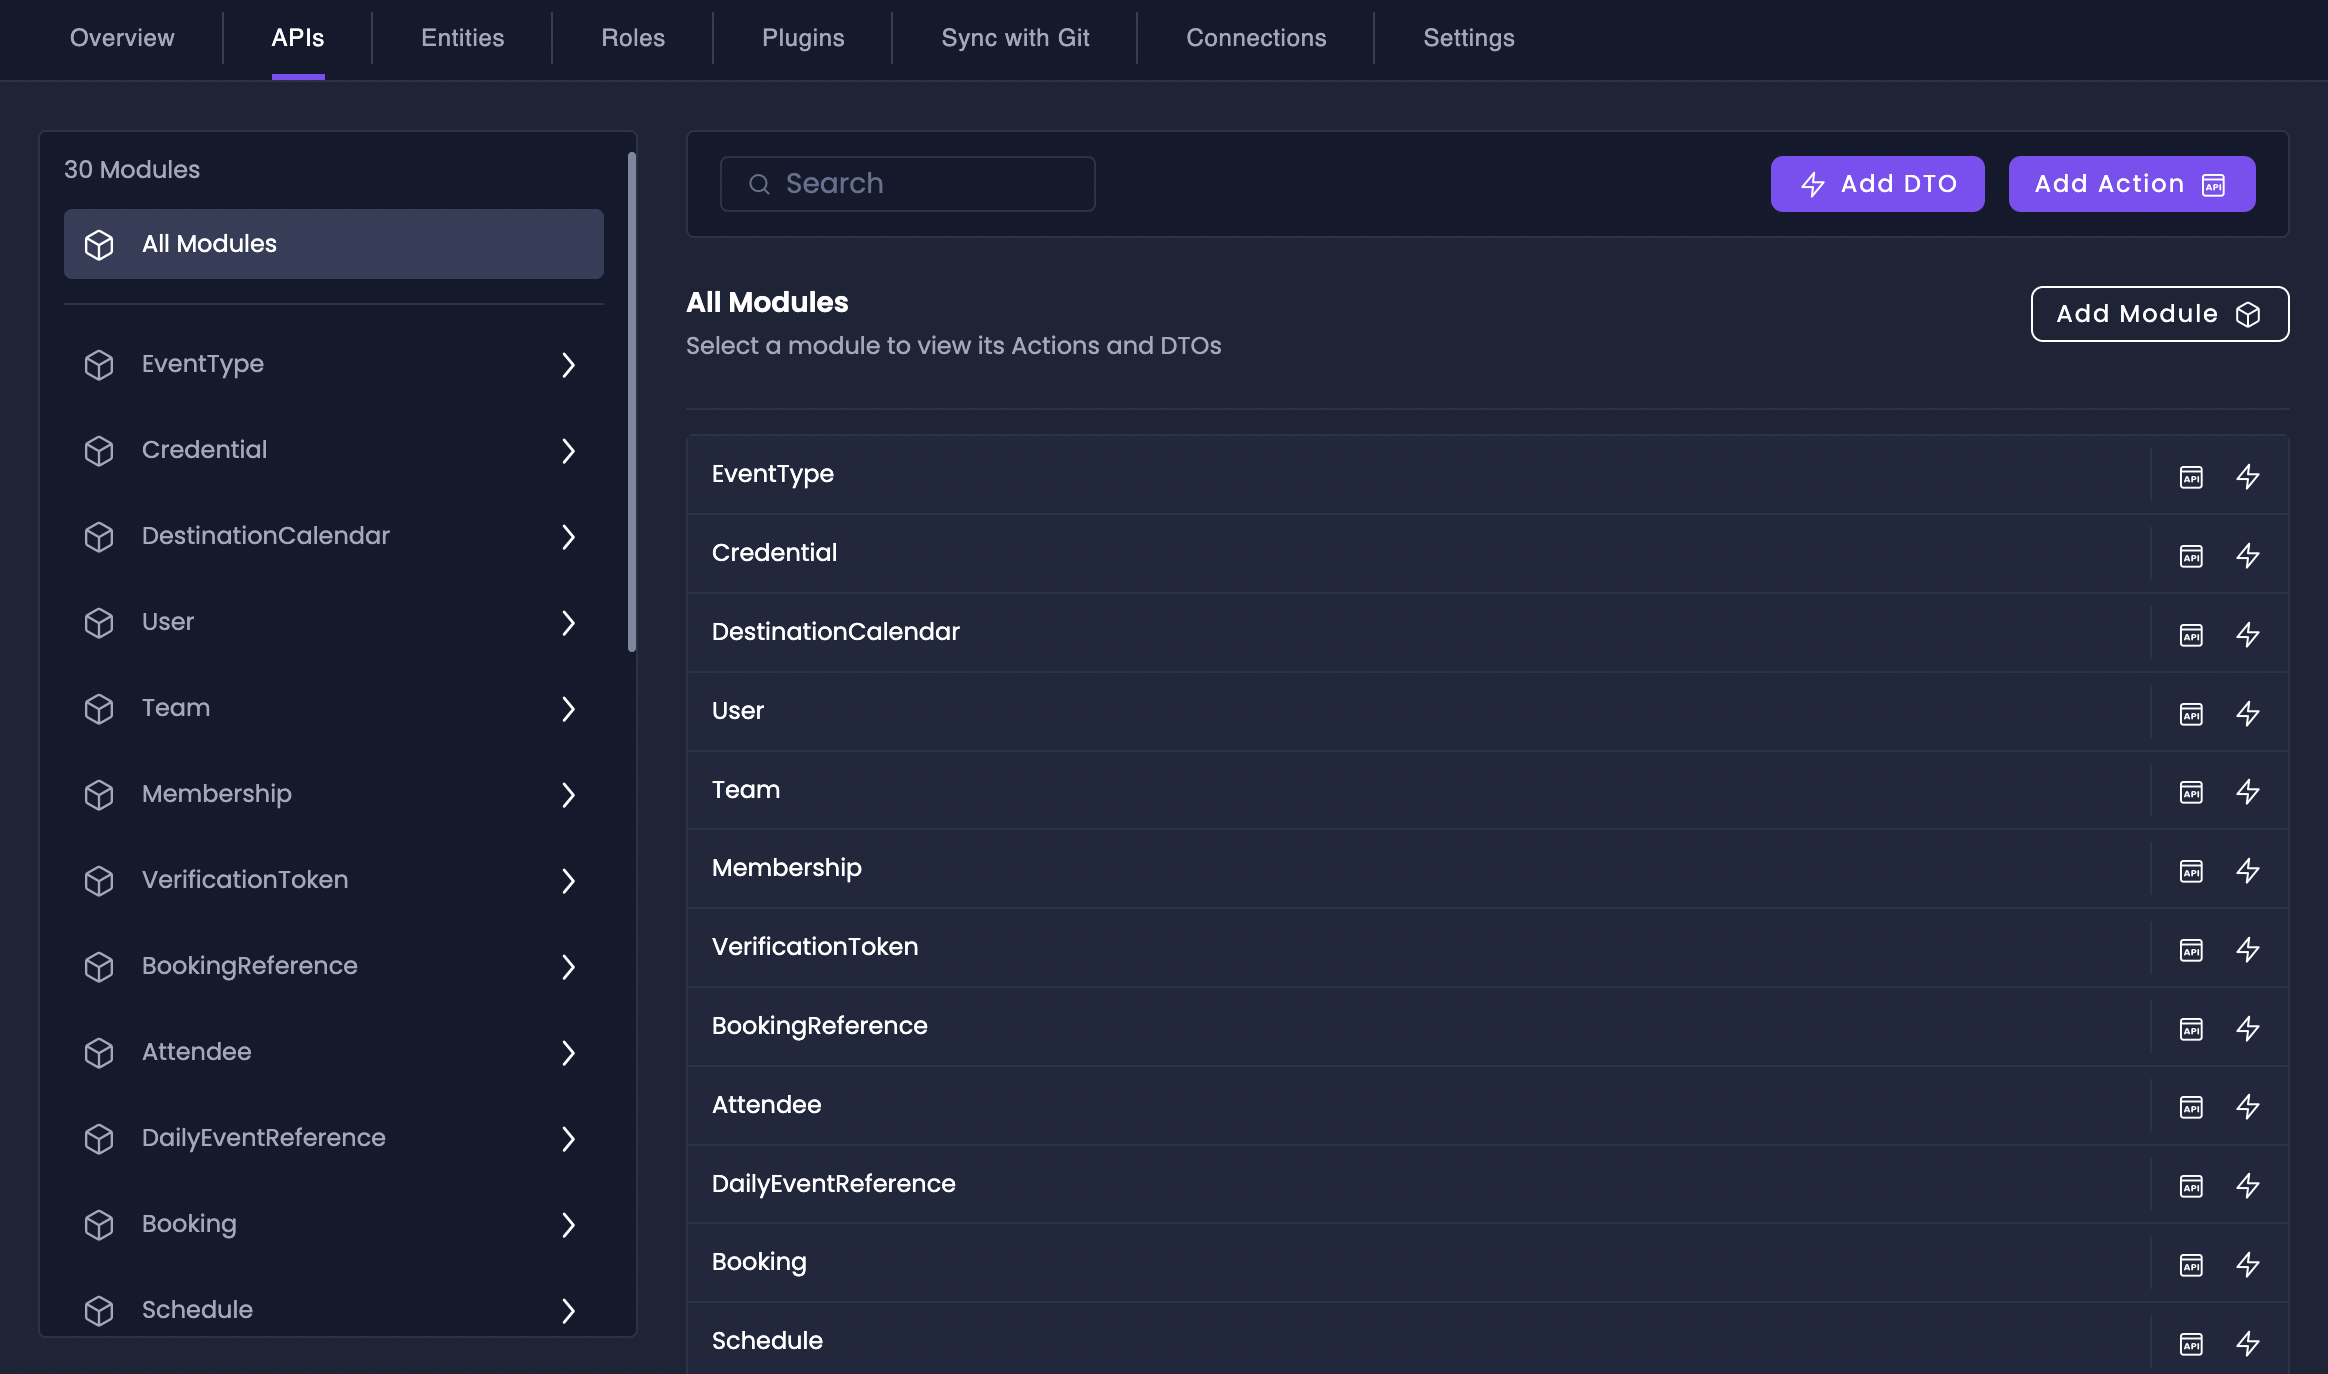
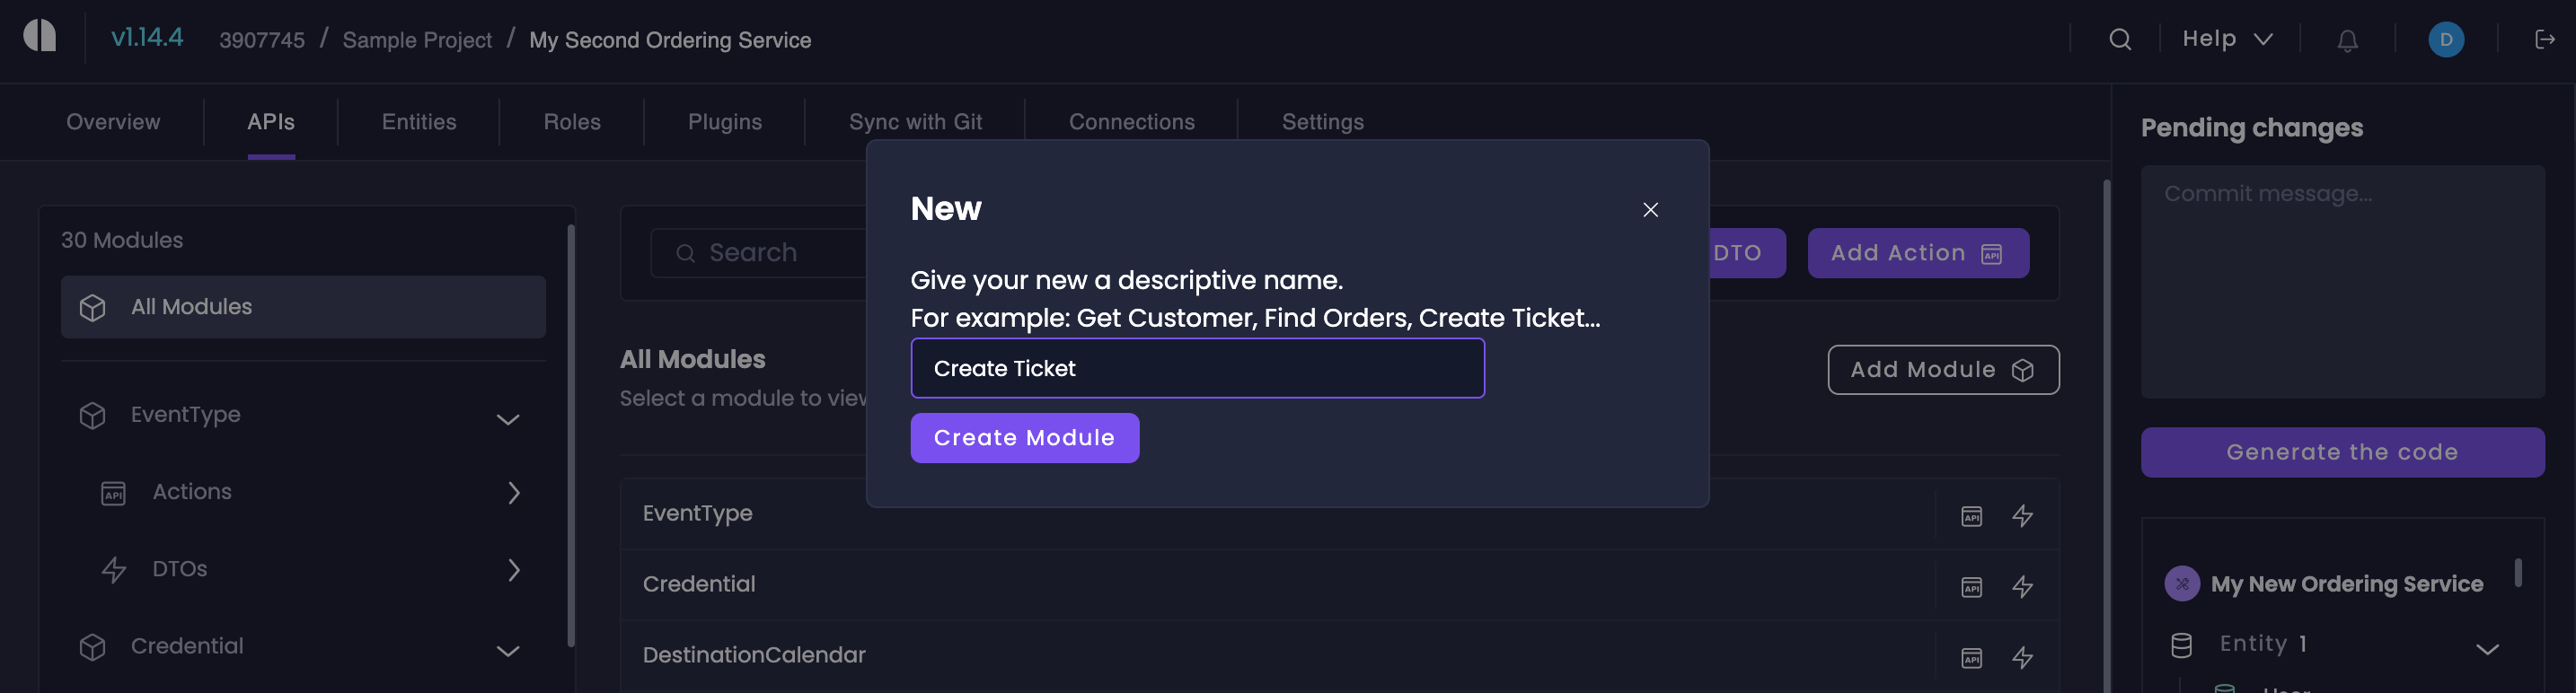
Modules
Modules help you organize your DTOs and Actions into logical units. While Amplication creates default Modules for each database entity, you can also create custom Modules to group related functionality.Create Module
Create Module
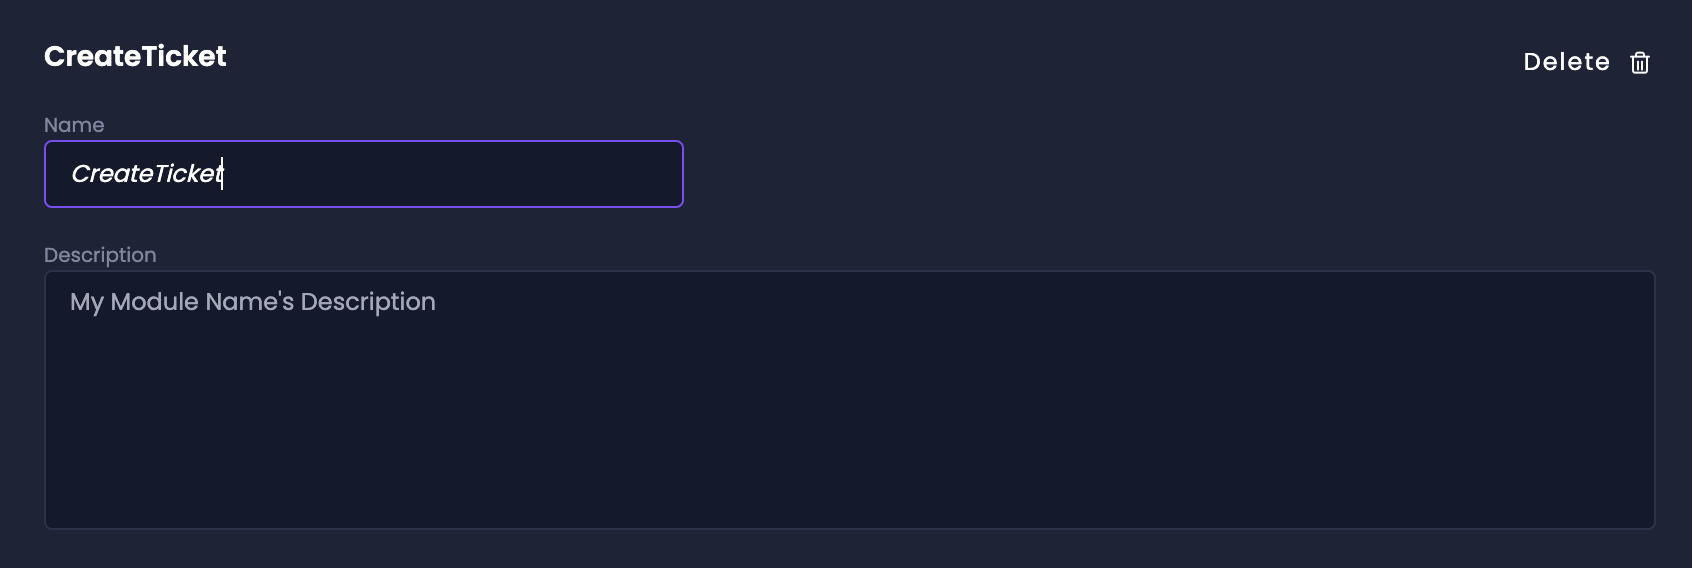
Edit Module
Edit Module
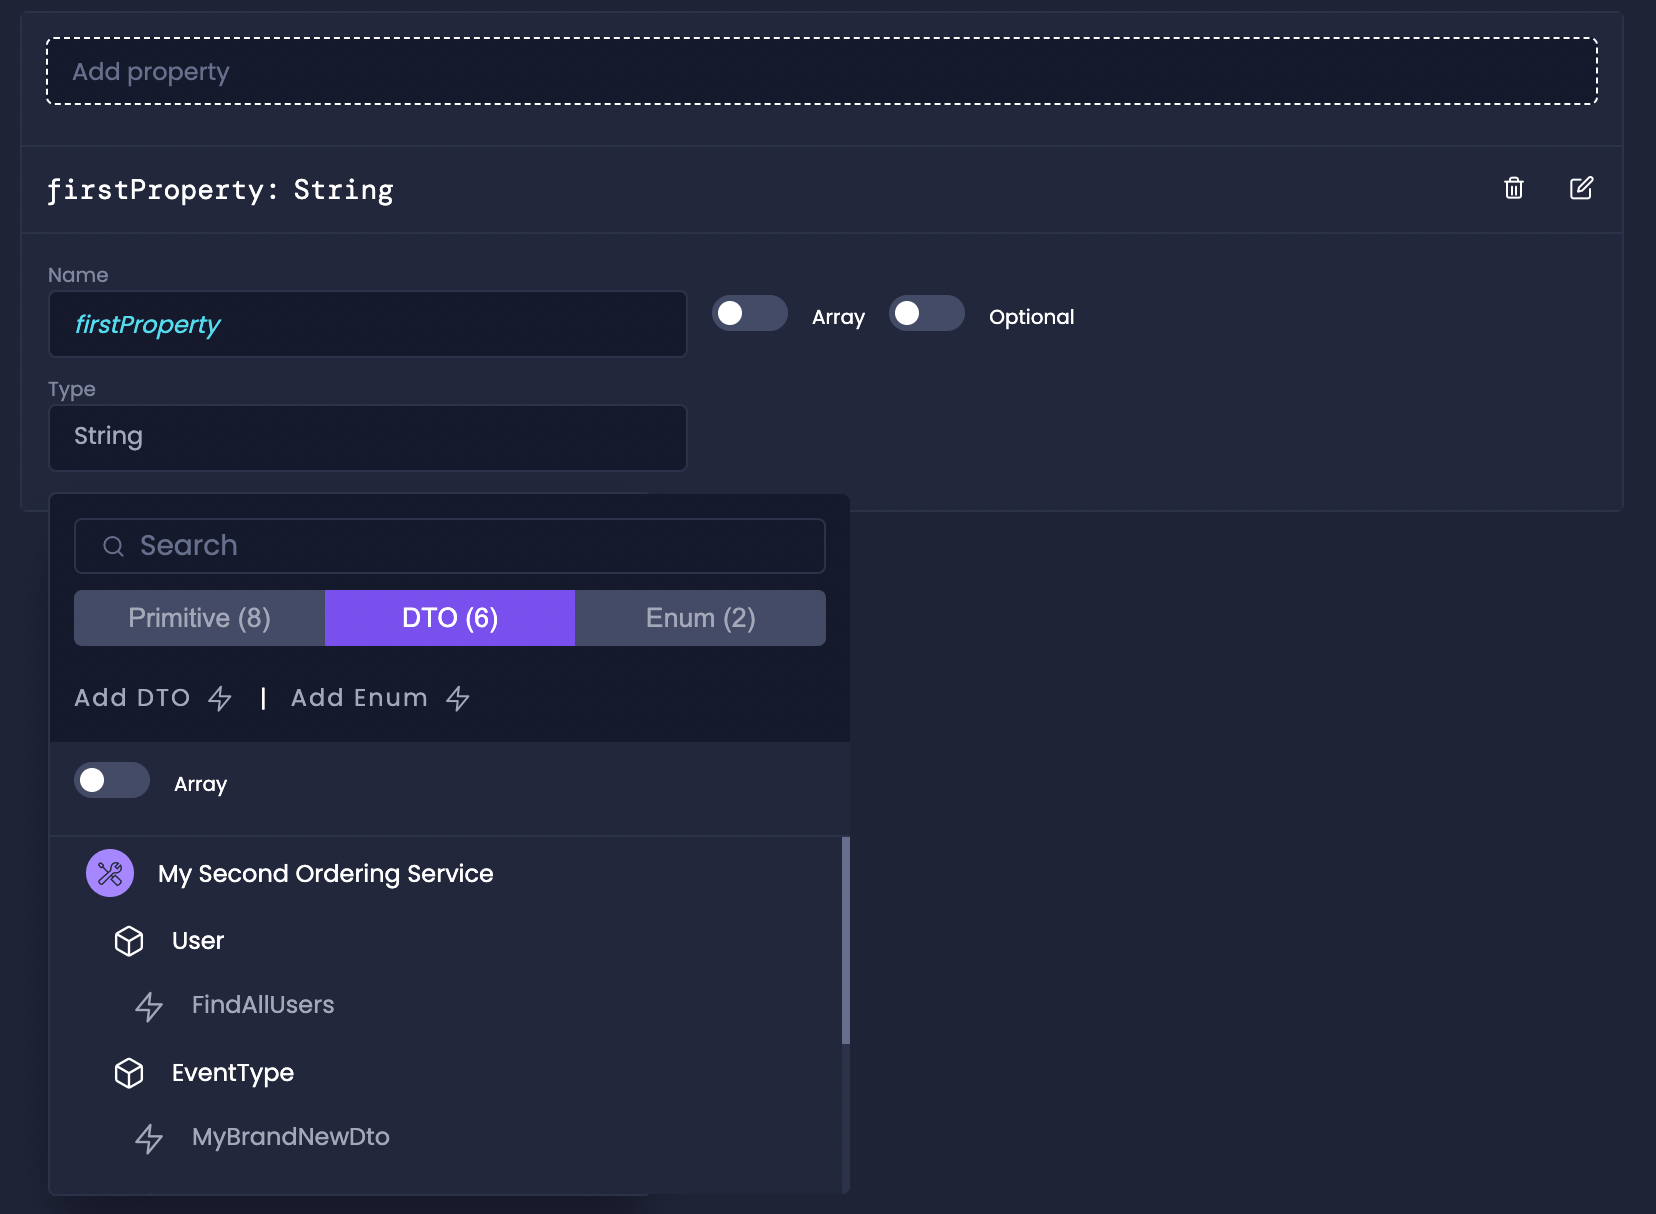
DTOs and Enums
DTOs (Data Transfer Objects) and Enums are essential building blocks for creating type-safe APIs. DTOs encapsulate data structures that flow between your service layers, ensuring consistent data validation and transformation, while Enums define a fixed set of named constants that represent discrete values.Create DTO
Create DTO
Start DTO Creation
Add Properties
Create Enum
Create Enum
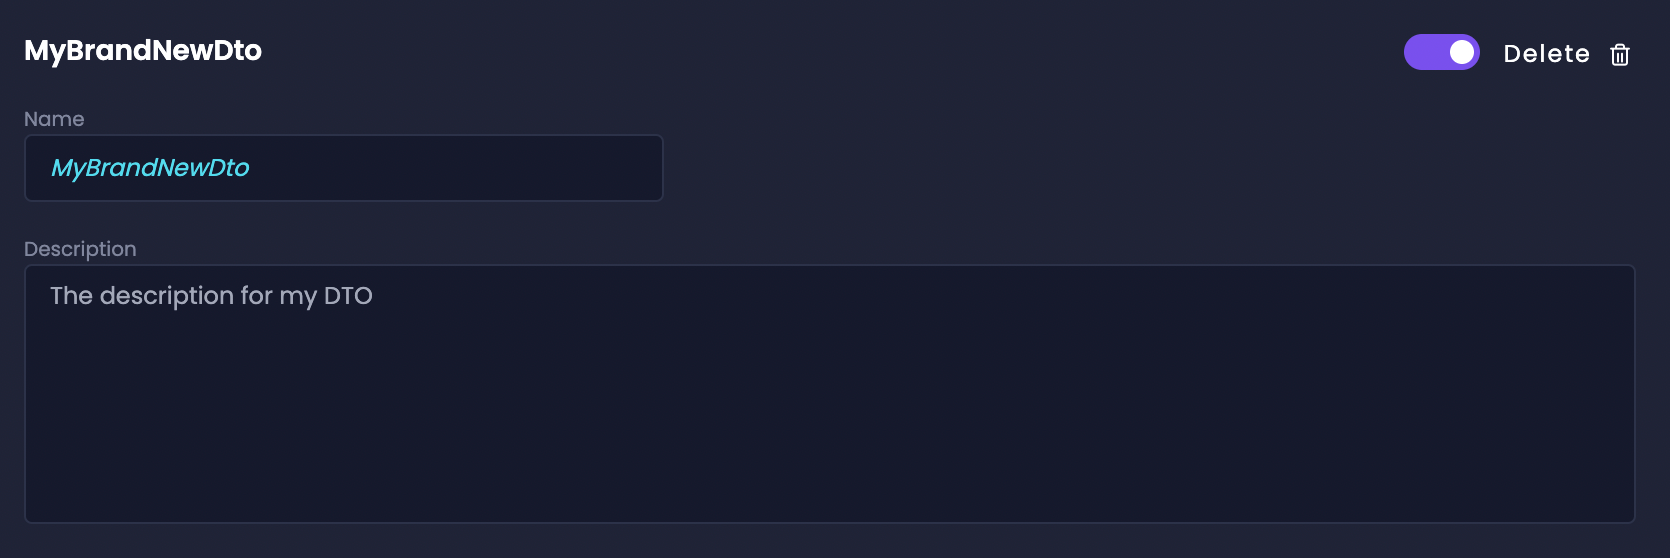
Edit DTO or Enum
Edit DTO or Enum
To edit an existing DTO or Enum, simply click on its name within its associated Module in the APIs tab. You can then modify its properties, members, name, or description as needed.
Actions
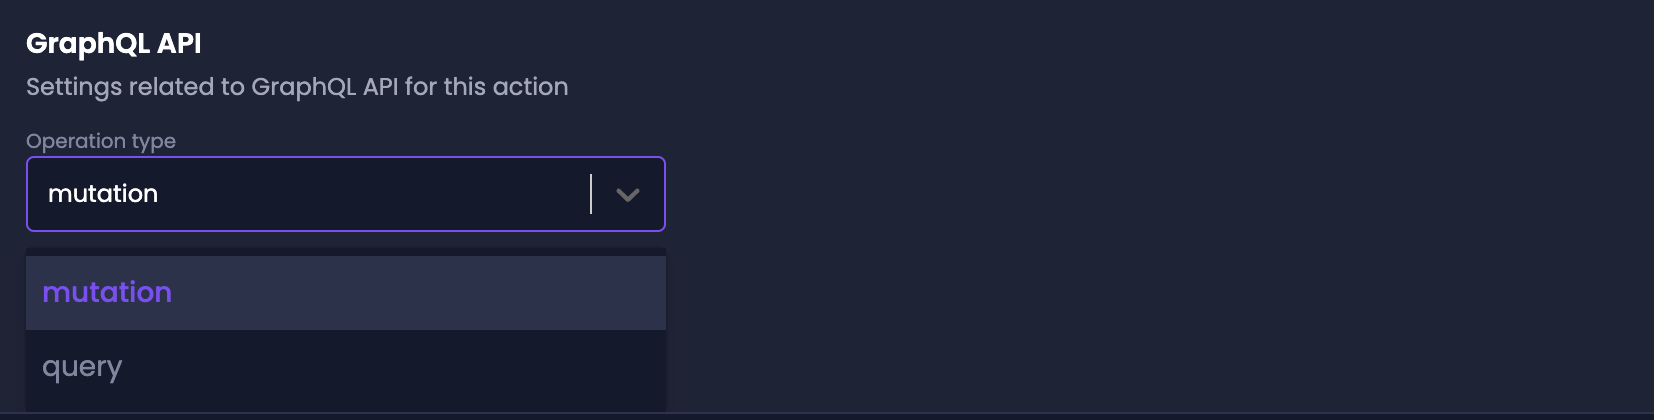
Actions define the API contract between your service and its consumers, specifying how data flows in and out of your system. Each Action maps to a specific endpoint (REST) or operation (GraphQL), with clear input/output types, enabling strong typing throughout your service stack while automatically generating the necessary routing, validation, and controller code.Create Action
Create Action
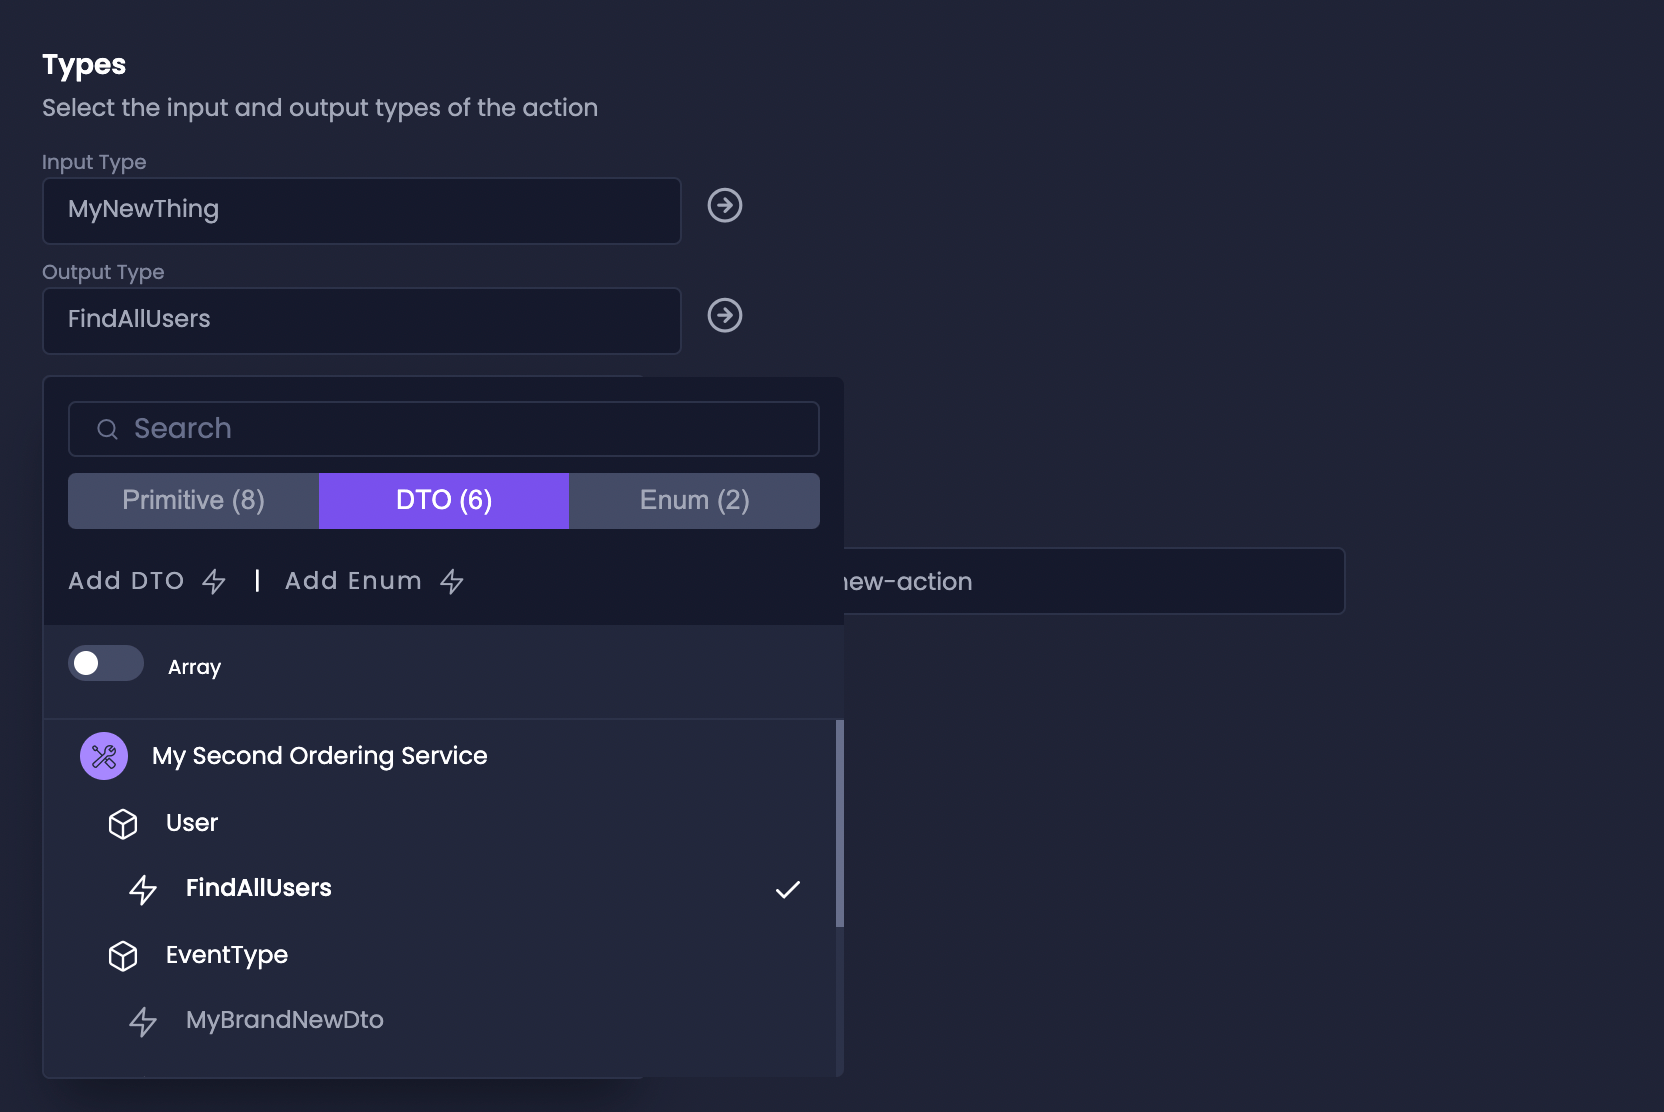
Choose Types
- Select an Input Type (DTO or Primitive) for the request.
- Select an Output Type (DTO or Primitive) for the response.
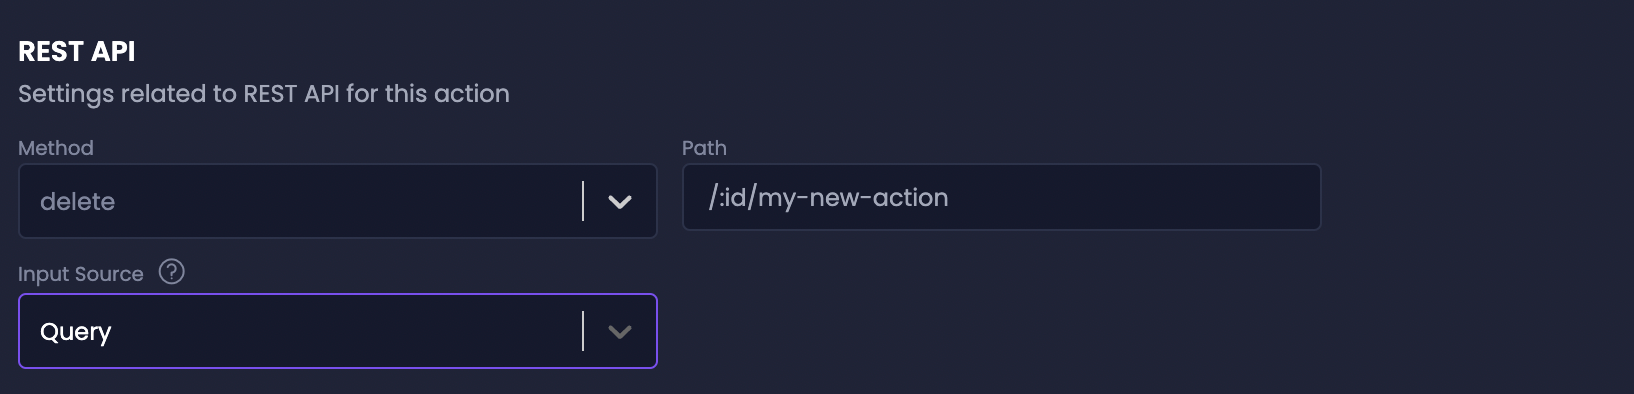
Configure REST API Settings (If Applicable)
- Choose the HTTP Verb.
- Specify the Route.
- Select the Input Source.
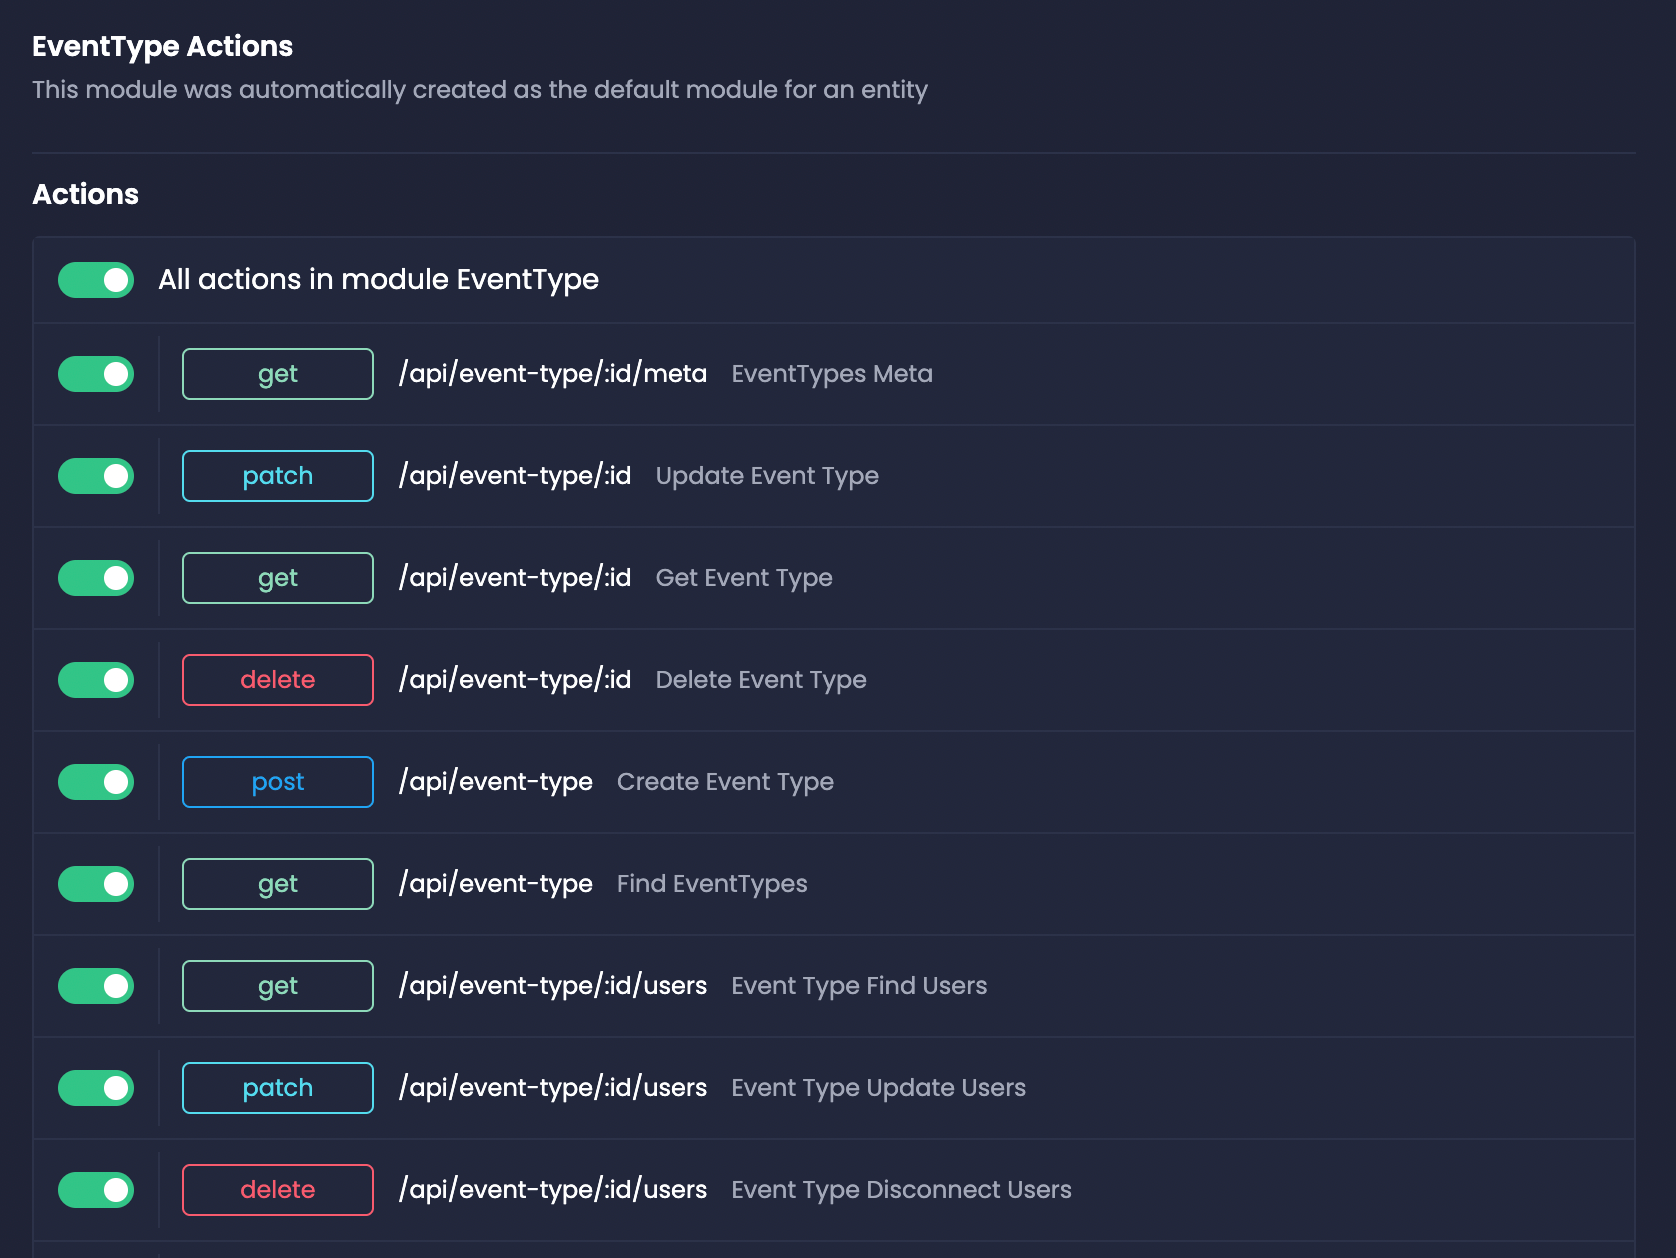
Enable and Disable Actions
Enable and Disable Actions
Amplication provides a clear overview of all Actions within each Module. You can easily enable or disable Actions using the toggle switch next to their names.
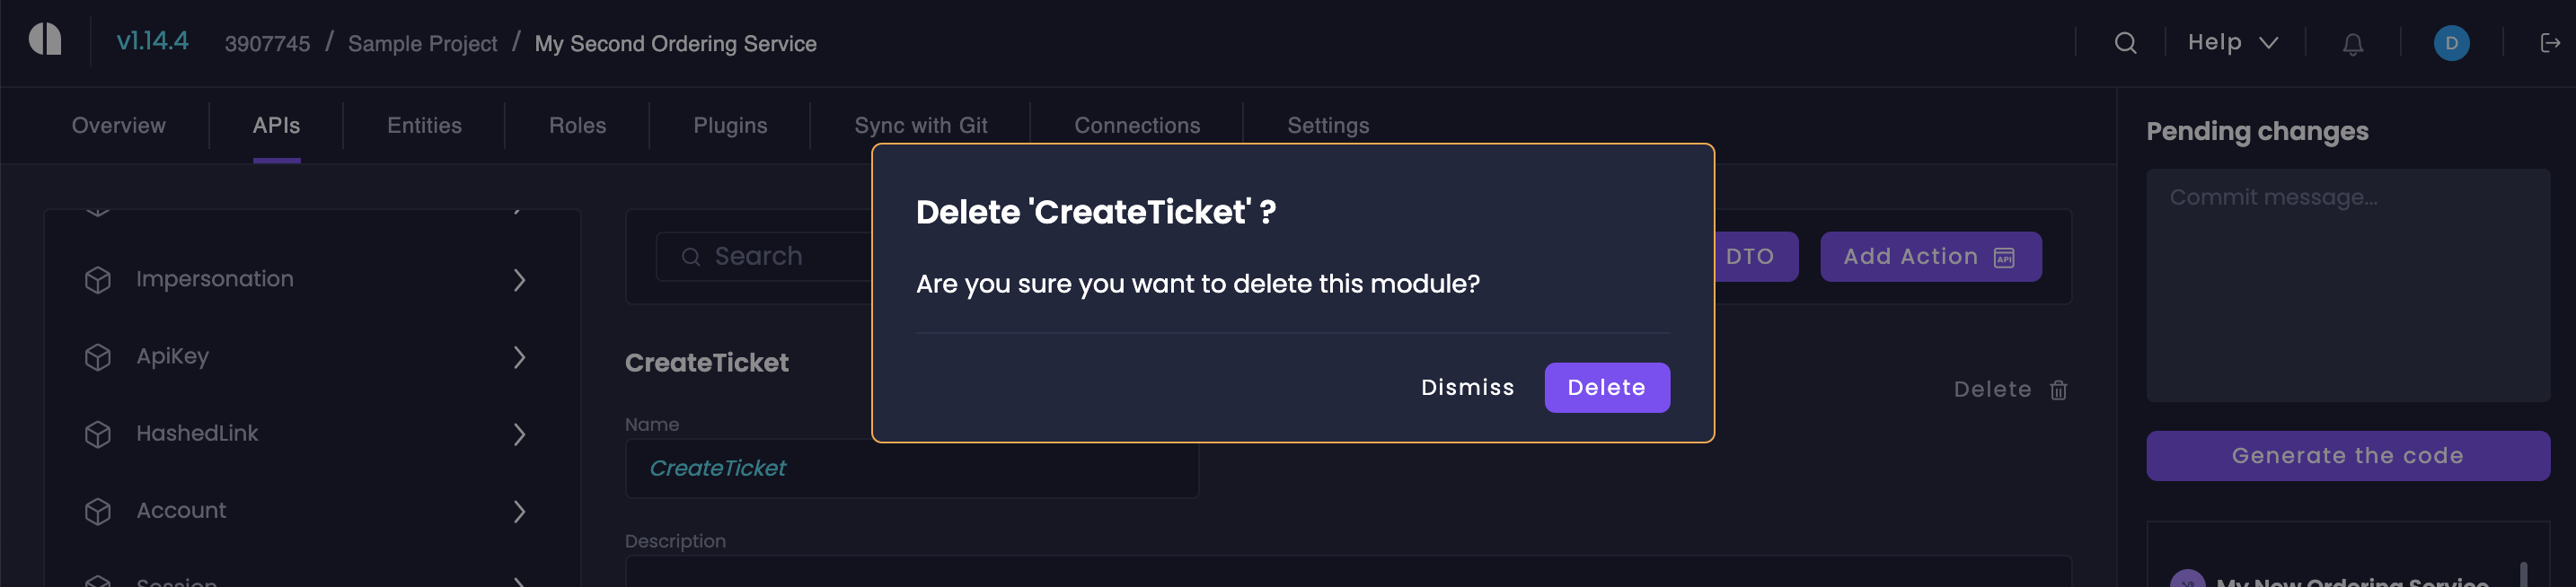
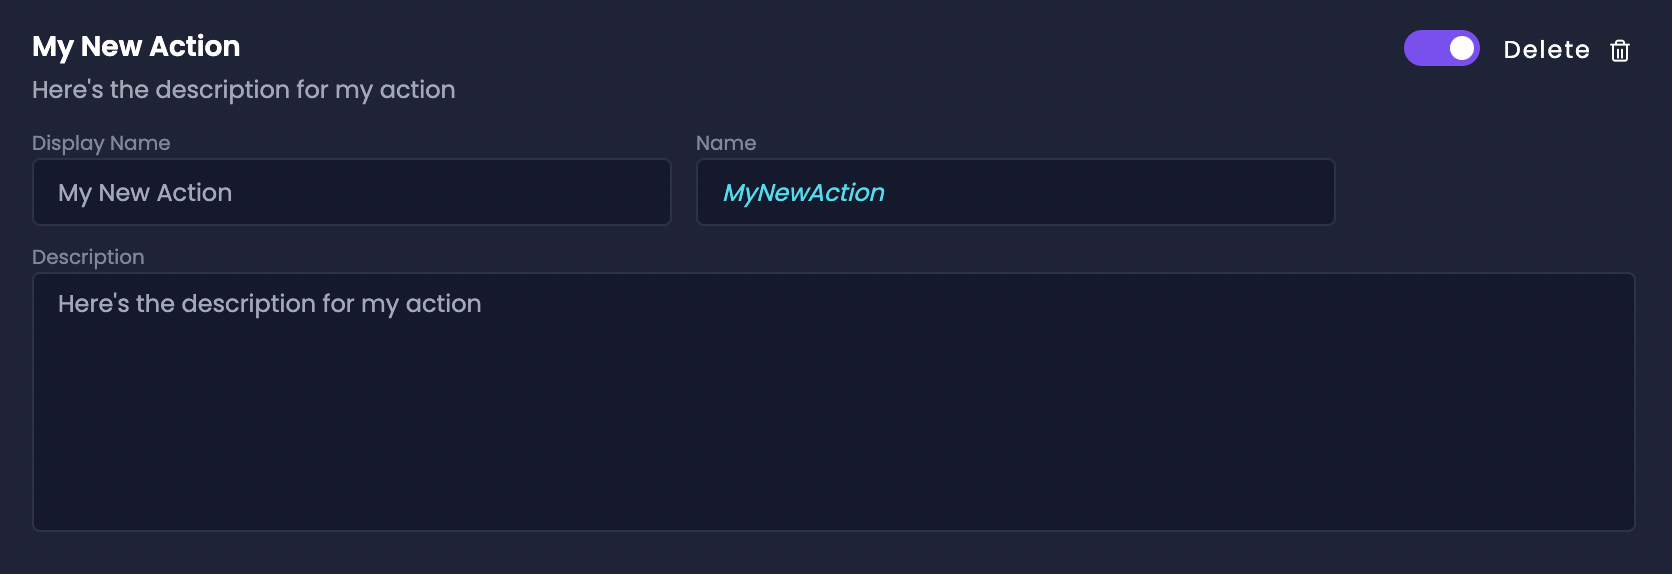
Edit and Delete Action
Edit and Delete Action
To edit an Action, click on its name to modify its properties and settings. To delete a Custom Action, click the delete button next to its name.