Documentation Index
Fetch the complete documentation index at: https://docs.amplication.com/llms.txt
Use this file to discover all available pages before exploring further.
Authentication plugins are available for Node.js and .NET blueprint
options. If you’re using a custom blueprint, you can implement your own
authentication solution using our custom plugins.
Add Authentication
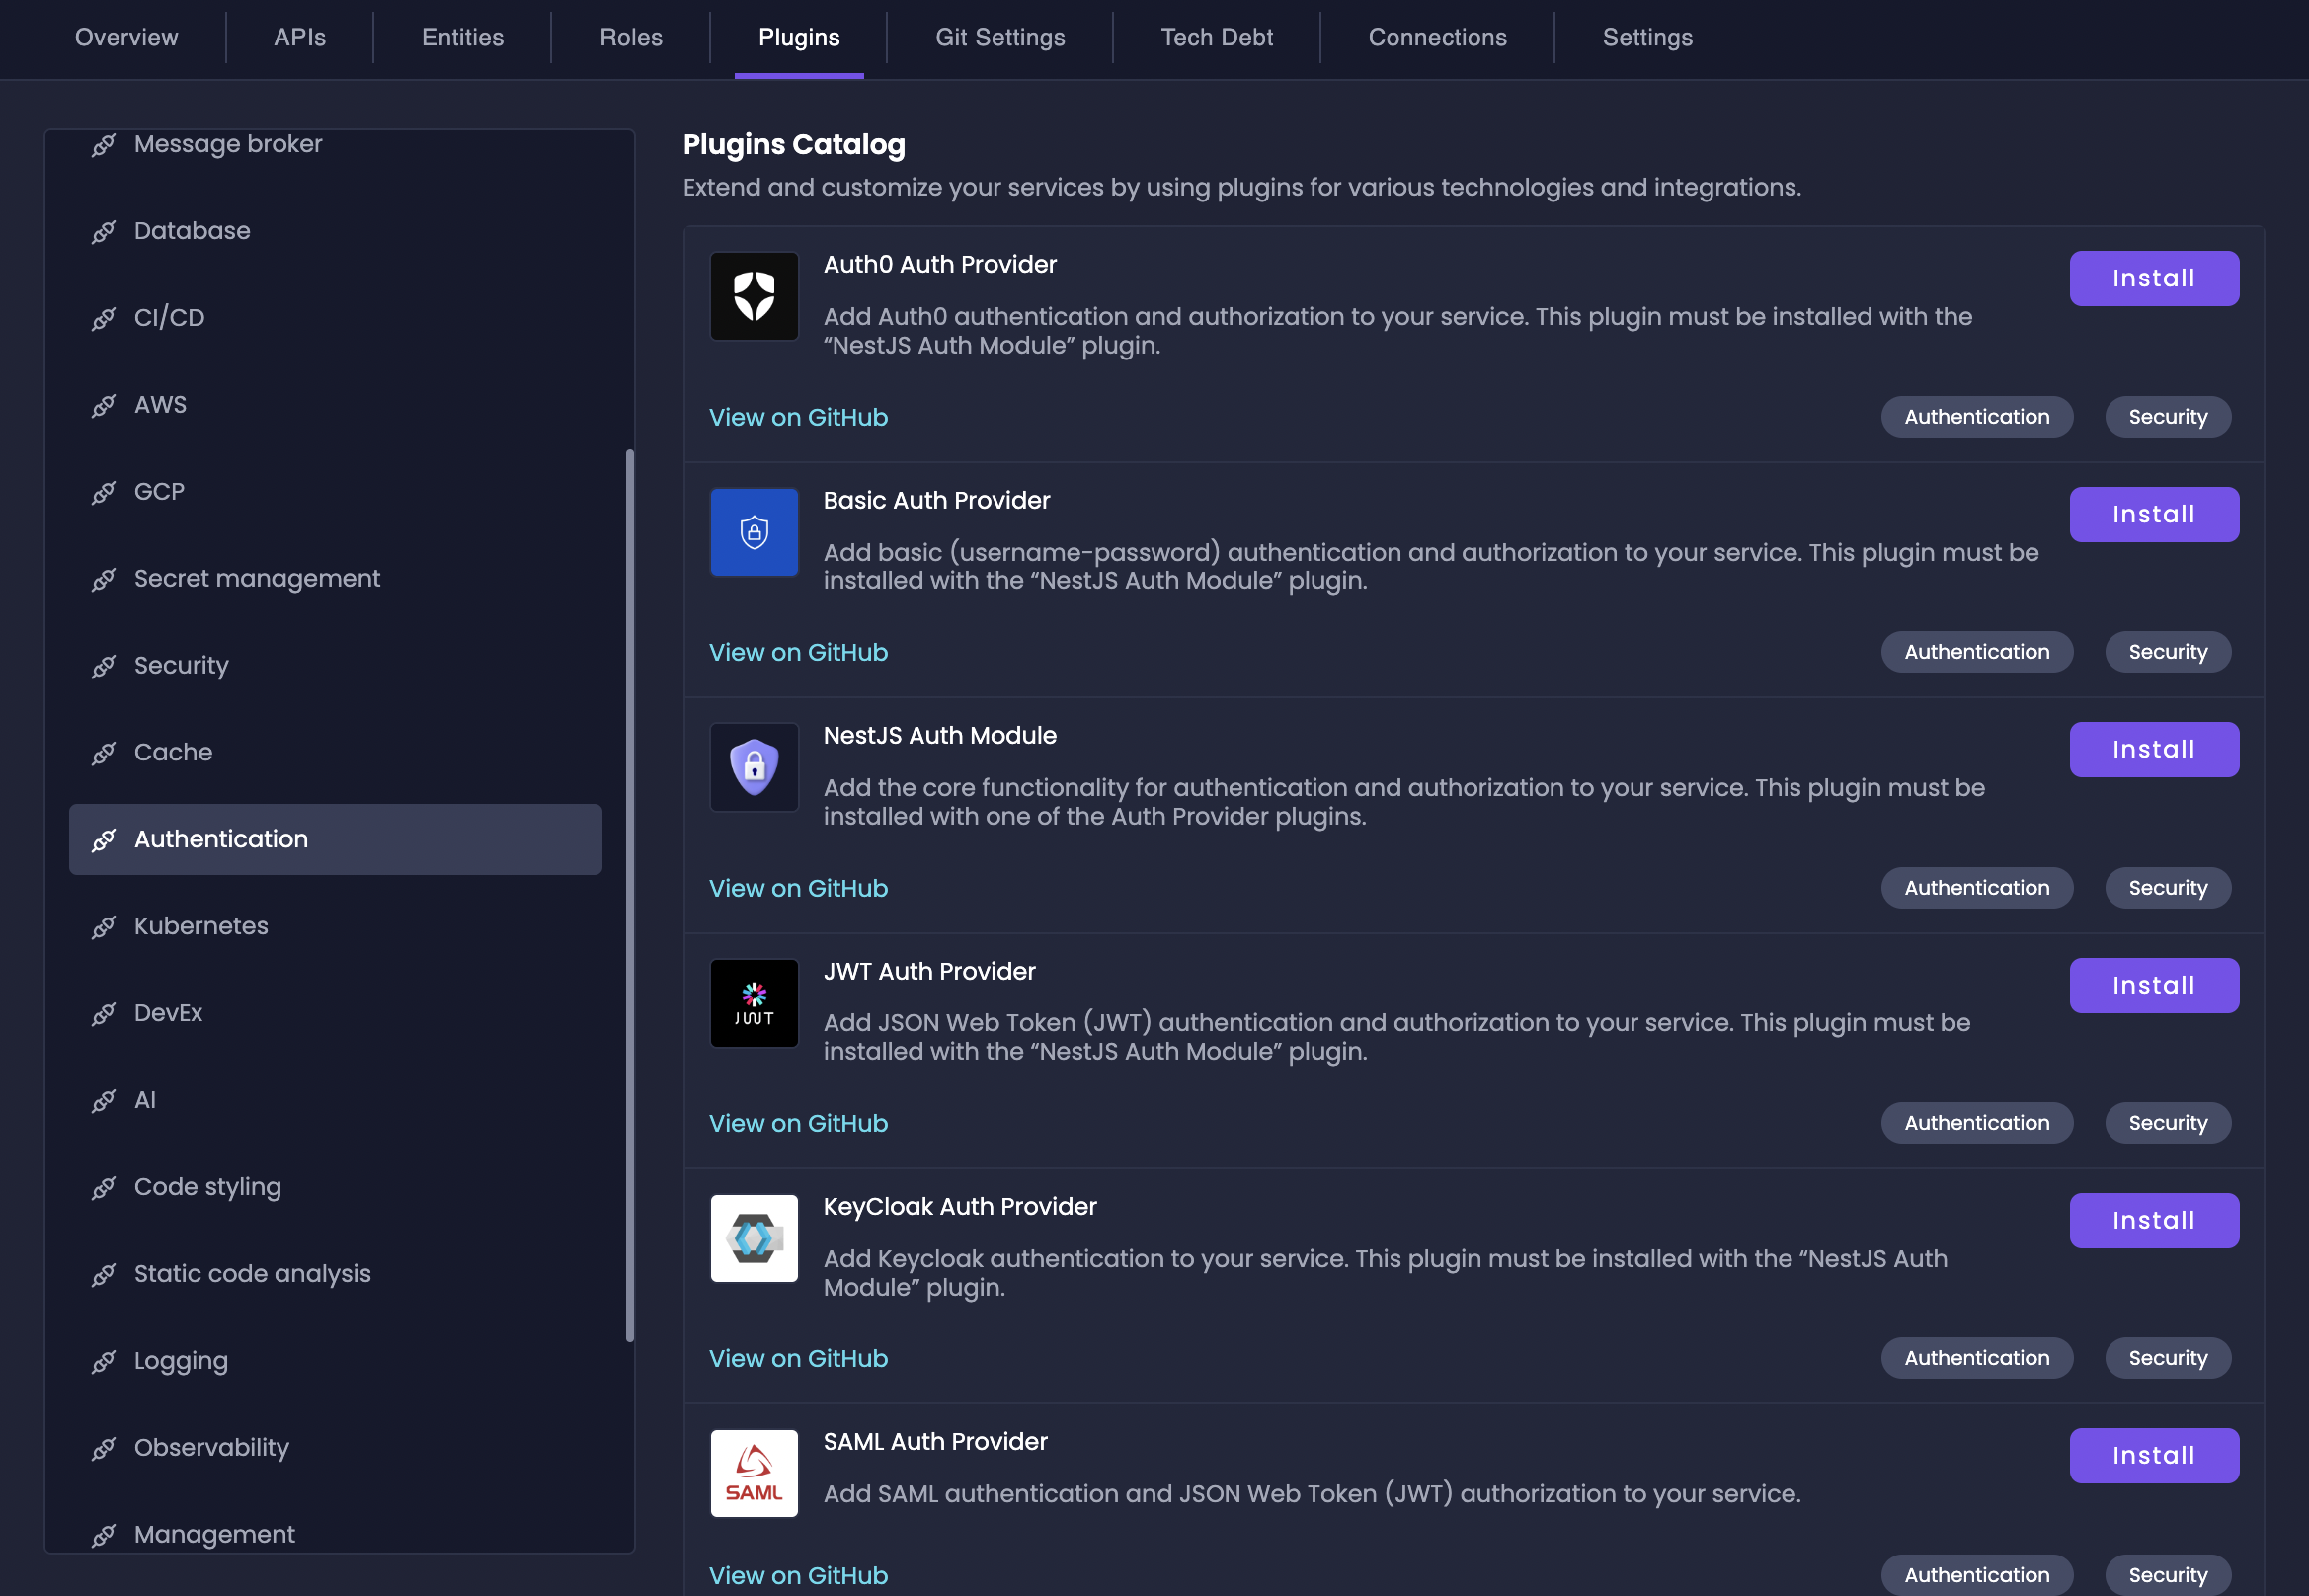
To add authentication to your service:Navigate to Plugins
Go to your service in the Amplication UI and click on the Plugins tab in the navigation bar.
Select Authentication Category
In the Plugins page, locate the Authentication category in the left sidebar menu.
Choose Auth Provider
Select an Auth Provider plugin that suits your needs from the available options listed below. Click “Install” to add the plugin to your service.
For Node.js services, ensure you install the “NestJS Auth Module” plugin first, as it provides the core authentication framework.
Configure Settings
After installing a plugin, you will see a Settings button. Click it to access the configuration page where you can adjust various settings in JSON format, such as default credentials or API keys.
Build Your Service
Finally, generate the code for your resource to apply the authentication plugin.
Available Authentications Providers
Each authentication provider has specific configuration options and requirements. Expand each provider below to learn more about its settings and usage.JWT Auth Provider
JWT Auth Provider
View JWT Auth Provider on GitHub to learn more.
Basic Auth Provider
Basic Auth Provider
Enables simple HTTP Basic Authentication. Suitable for development, testing, or internal services with less stringent security requirements.Platform: Node.js, .NETSettings:
By default, Basic Auth Provider comes with
username: admin and password: admin. Change these default credentials immediately in a production environment.Auth0 Auth Provider
Auth0 Auth Provider
Integrates with Auth0, a leading Identity-as-a-Service (IDaaS) platform, offering advanced authentication and authorization features.Platform: Node.js
Requires: NestJS Auth Module, Auth0 Account
Supertokens Auth Provider
Supertokens Auth Provider
Adds Supertokens authentication, providing a flexible and customizable authentication solution with various “recipes” (email/password, social login, etc.).Platform: Node.js
Requires: NestJS Auth Module, Supertokens Core setup
SAML Auth Provider
SAML Auth Provider
Enables Security Assertion Markup Language (SAML) based Single Sign-On (SSO). Ideal for enterprise environments using SAML for identity federation.Platform: Node.js
Requires: NestJS Auth Module, SAML Identity Provider
Keycloak Auth Provider
Keycloak Auth Provider
Integrates with Keycloak, an open-source Identity and Access Management solution, offering advanced features and protocols.Platform: Node.js
Requires: NestJS Auth Module, Keycloak Server setup
ASP.NET Core Identity
ASP.NET Core Identity
Leverages ASP.NET Core Identity, the built-in authentication framework for .NET applications.Platform: .NETSettings:
Additional Resources
Plugin Repo
Explore detailed documentation for each authentication provider plugin in
our GitHub.
Community Support
Join our Discord community to get help and connect with other Amplication
developers.