Documentation Index
Fetch the complete documentation index at: https://docs.amplication.com/llms.txt
Use this file to discover all available pages before exploring further.
Why Use Dev Versions for Plugin Testing?
Dev Versions are designed to minimize friction and accelerate your plugin development workflow by:Eliminate Publish Cycles
Instead of needing to publish a new plugin version every time you make a code change, Dev Versions automatically use the latest code directly from your plugin’s Git repository.
Seamless Integration
Dev Versions integrate directly with your existing Git-based development workflow, making testing a natural part of your plugin creation process.
Want to learn more about publishing your plugin? Check out our plugin publishing guide.
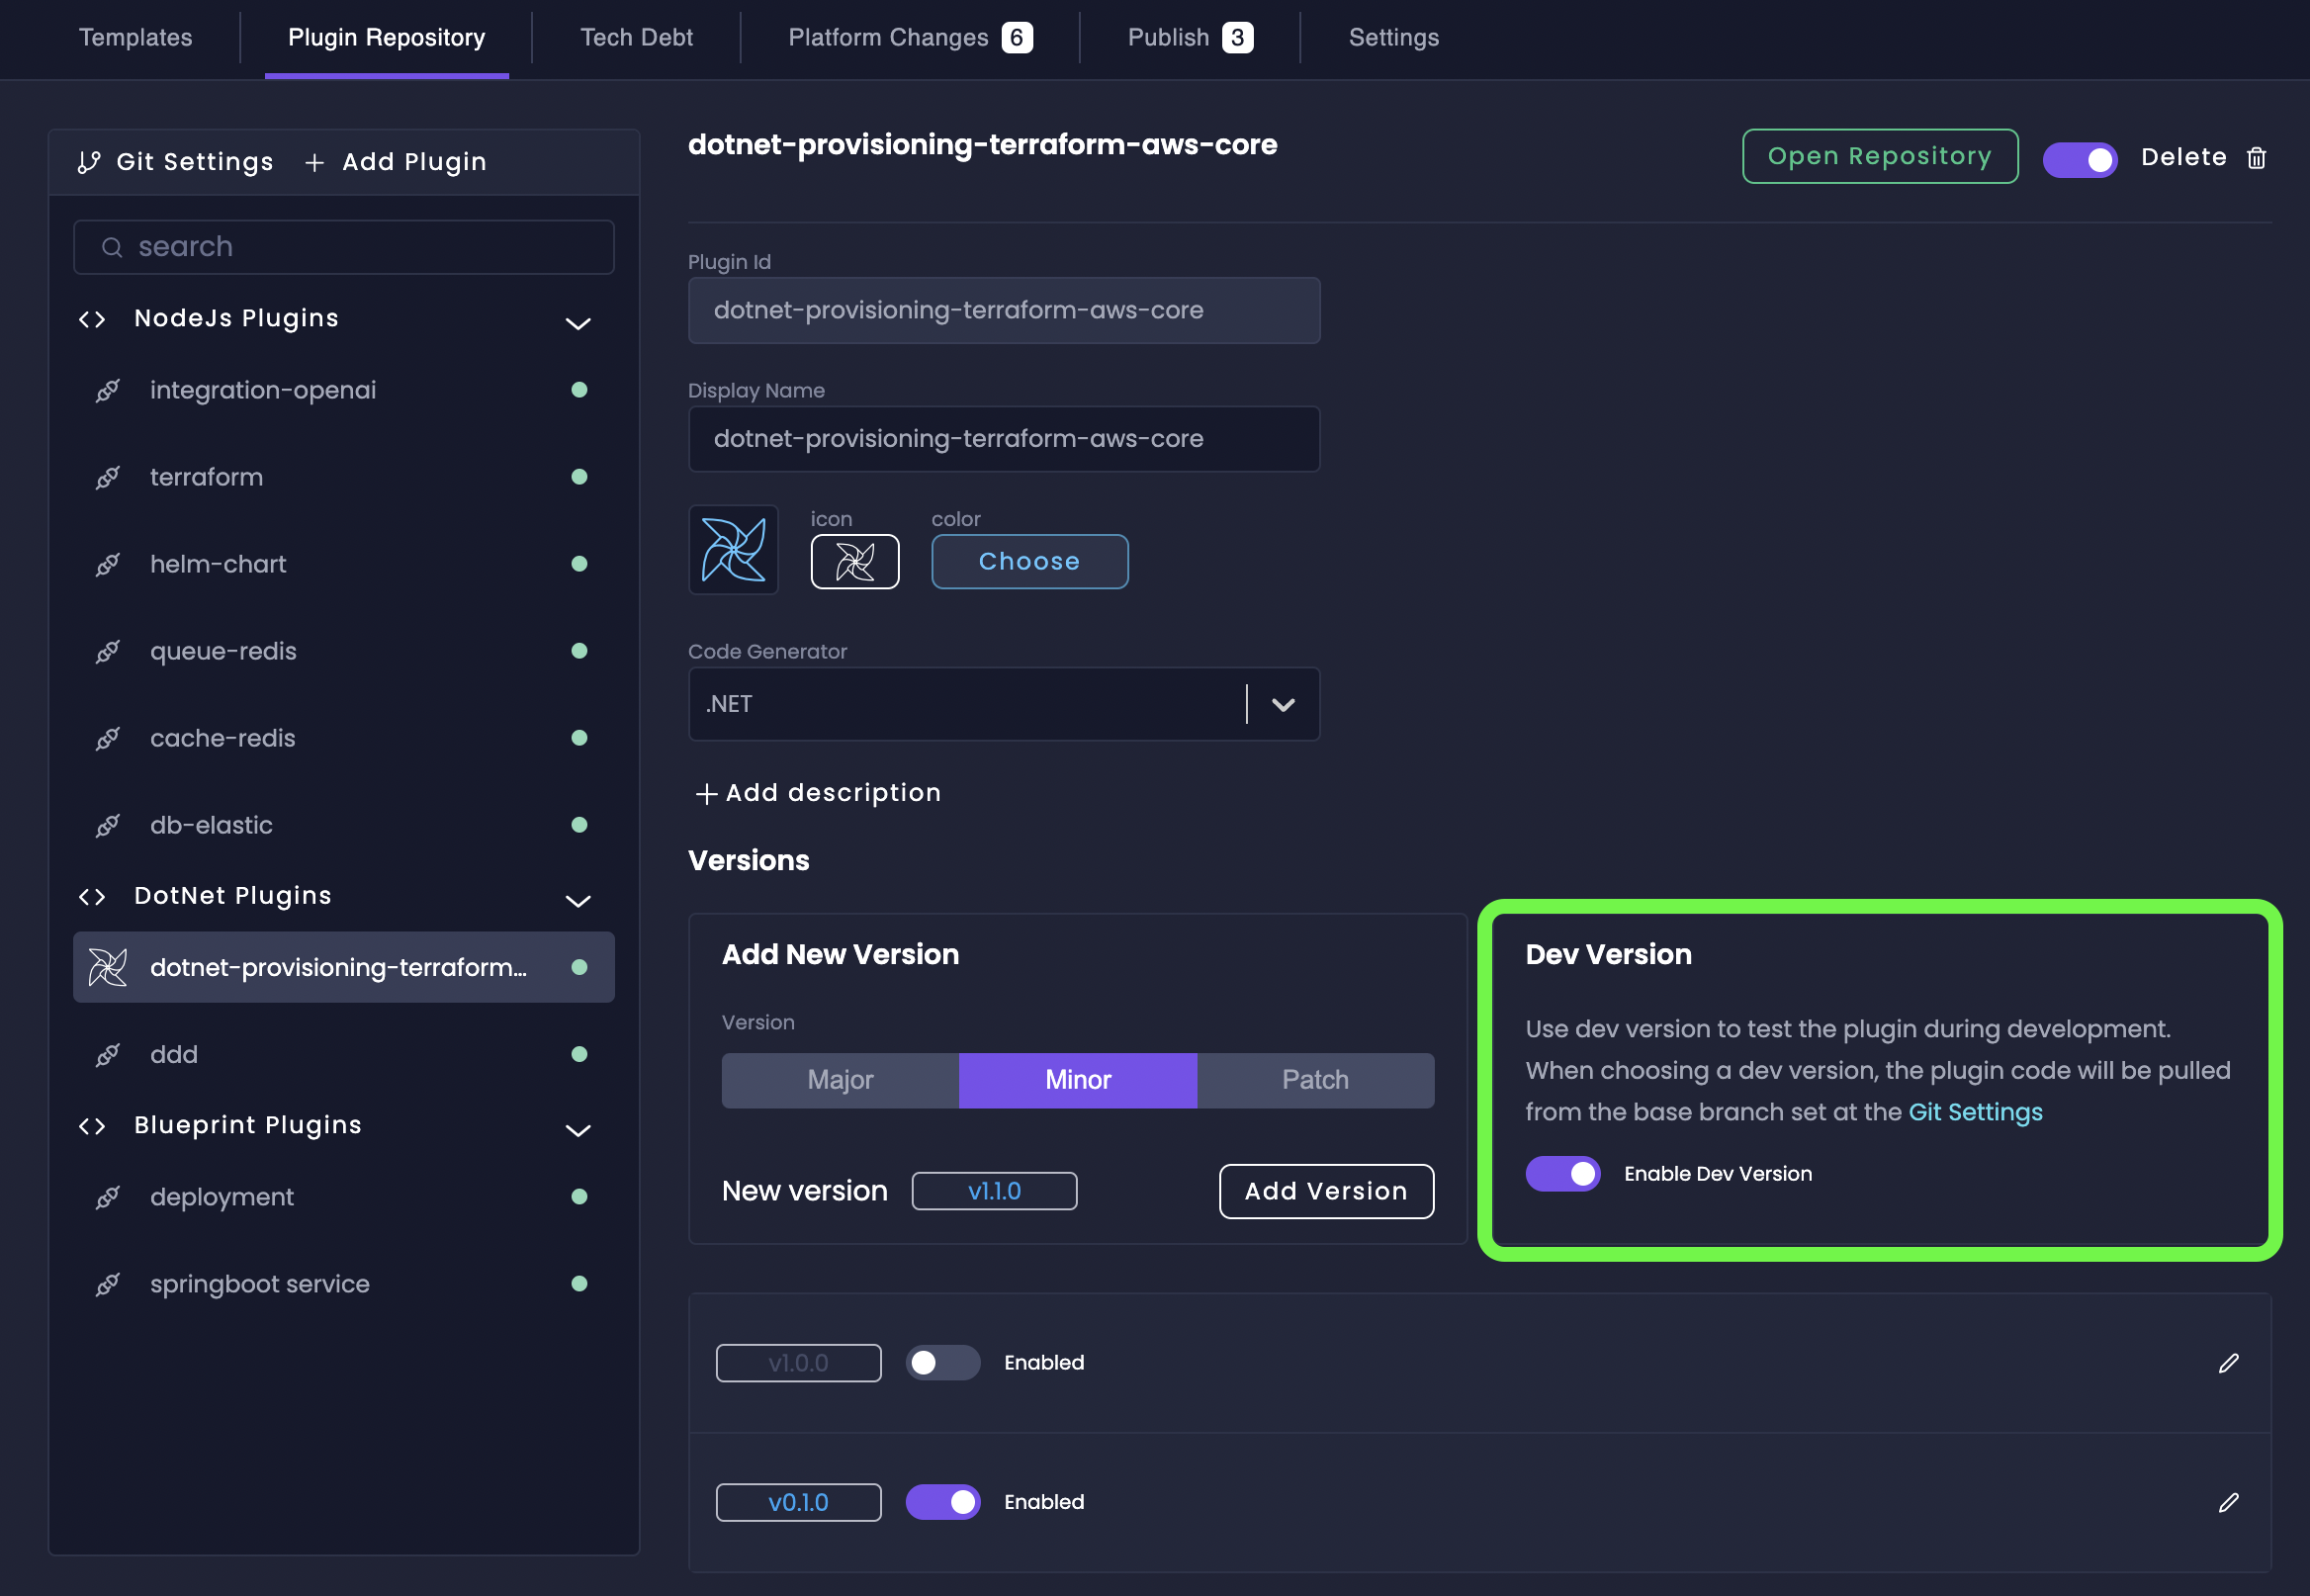
Step 1: Enable Dev Versions for Your Plugin
Before you can start testing with Dev Versions, you need to enable them for your private plugin in the Amplication Platform Console.Navigate to Private Plugins
Go to your project’s Platform Console from the top header and click on the Private Plugins tab.
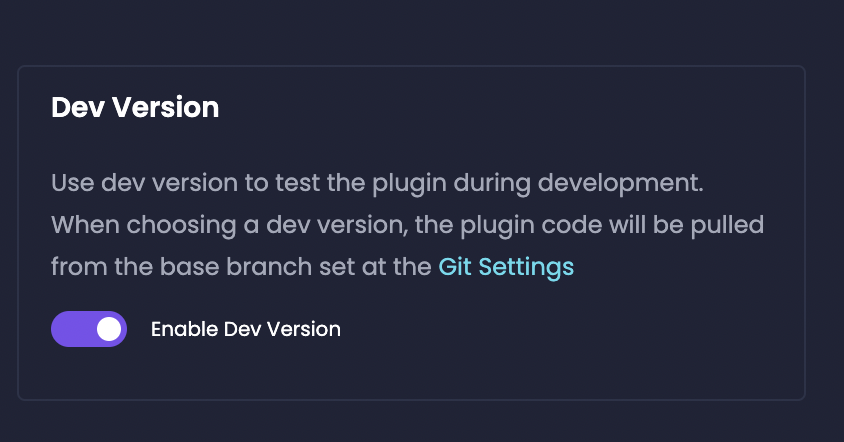
When Dev Versions are enabled, Amplication will automatically pull the latest plugin code from the base branch specified in your Git Settings whenever you use this plugin in a service or template.
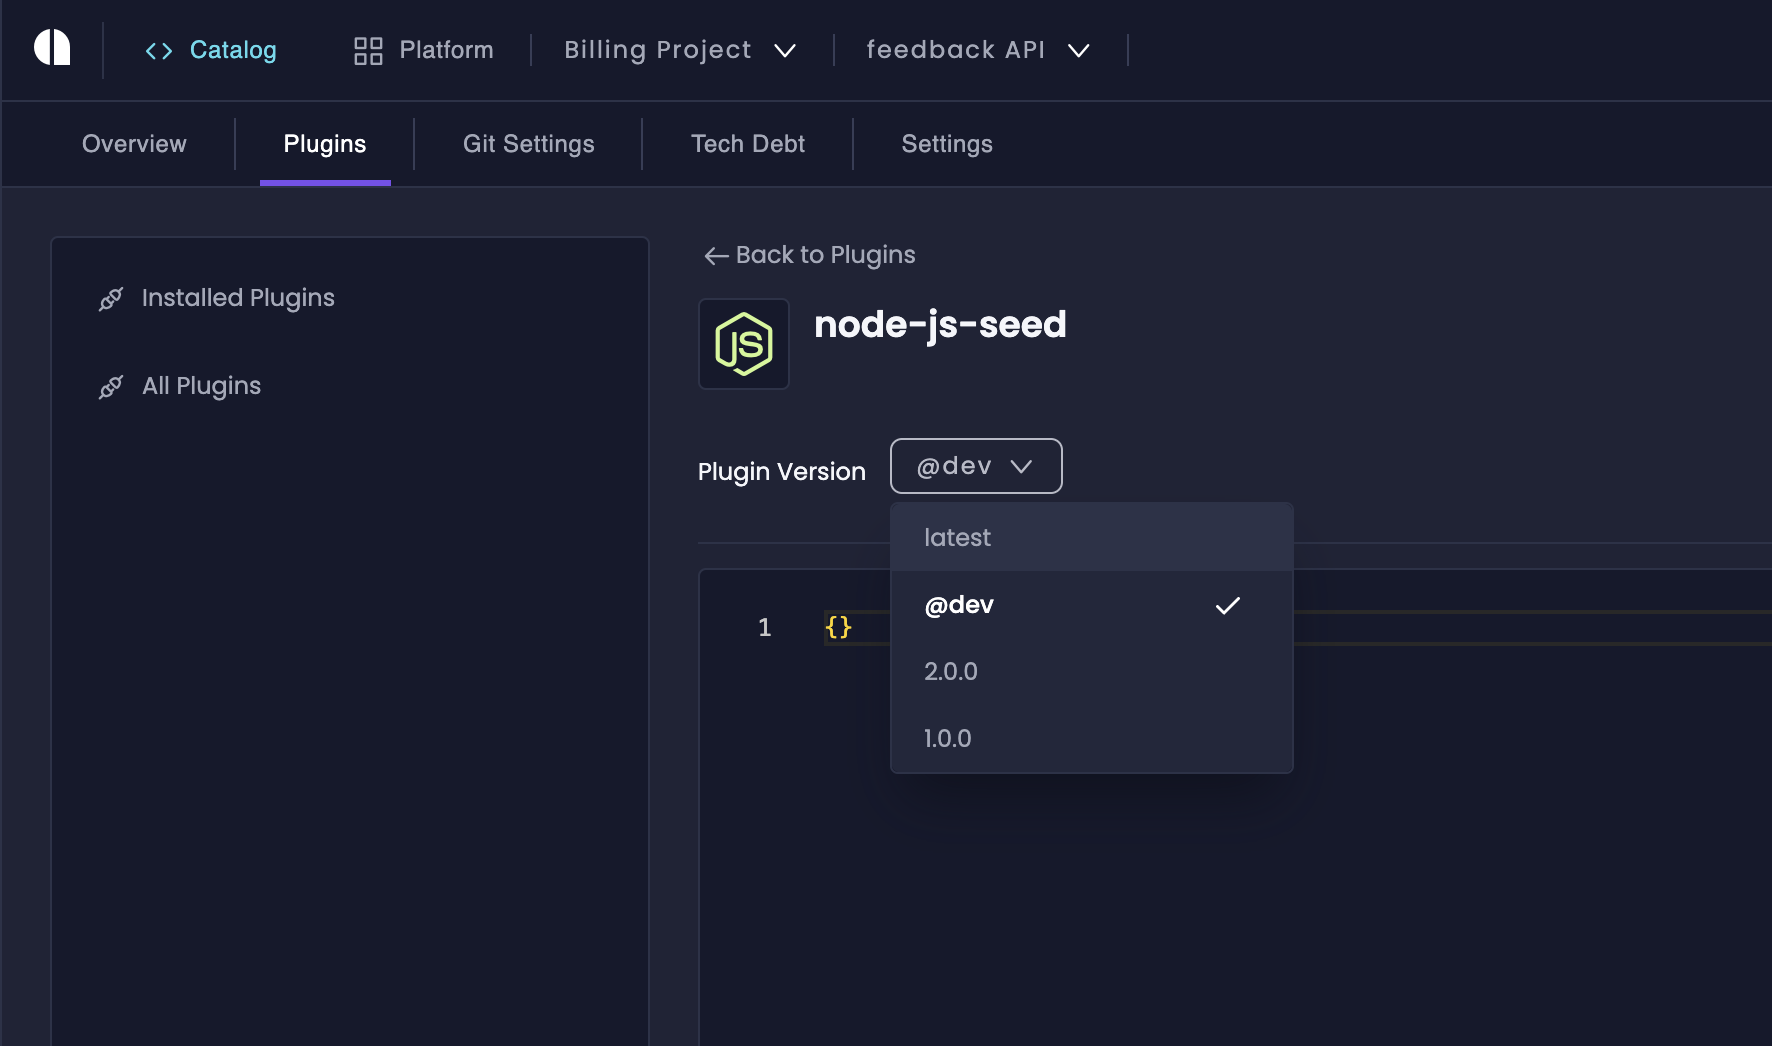
Step 2: Install Your Plugin with the Dev Version
To actually use the dev version for testing, you must specifically select it when installing the plugin in a resource.Navigate to Services or Templates
Go to the Service Catalog and select a resource. Usually, this will be a test resource that is not used in production for testing purposes.
Install Your Private Plugin
Find your private plugin in the Private Plugins section and click Install.
Next Steps
Once you are satisfied with your testing and ready to share your plugin more broadly, you can proceed to the publish your plugin guide.Publish Your Plugin
Learn how to publish your plugin and make it available to your organization or the wider Amplication community.