Documentation Index
Fetch the complete documentation index at: https://docs.amplication.com/llms.txt
Use this file to discover all available pages before exploring further.
Prerequisites
Before proceeding, ensure you have the following:- An Amplication workspace with a project that is connected to a Git organization and has a plugin repository configured as explained here.
Download and Register the “Blueprint Plugin Template” Plugin
Download the Plugin Template
Download the Amplication Blueprint Plugin Template, which provides the foundational structure for plugin development.You can find the template in the official Amplication plugins repository:
Blueprint Plugin Template Repository.To download the folder, use the GitHub Directory Downloader or download it directly:
Download Plugin Template.
Blueprint Plugin Template Repository.To download the folder, use the GitHub Directory Downloader or download it directly:
Download Plugin Template.
Copy the Template into the Plugin Repository
After downloading the ZIP file, extract its contents and copy them into your
plugin repository under a folder named 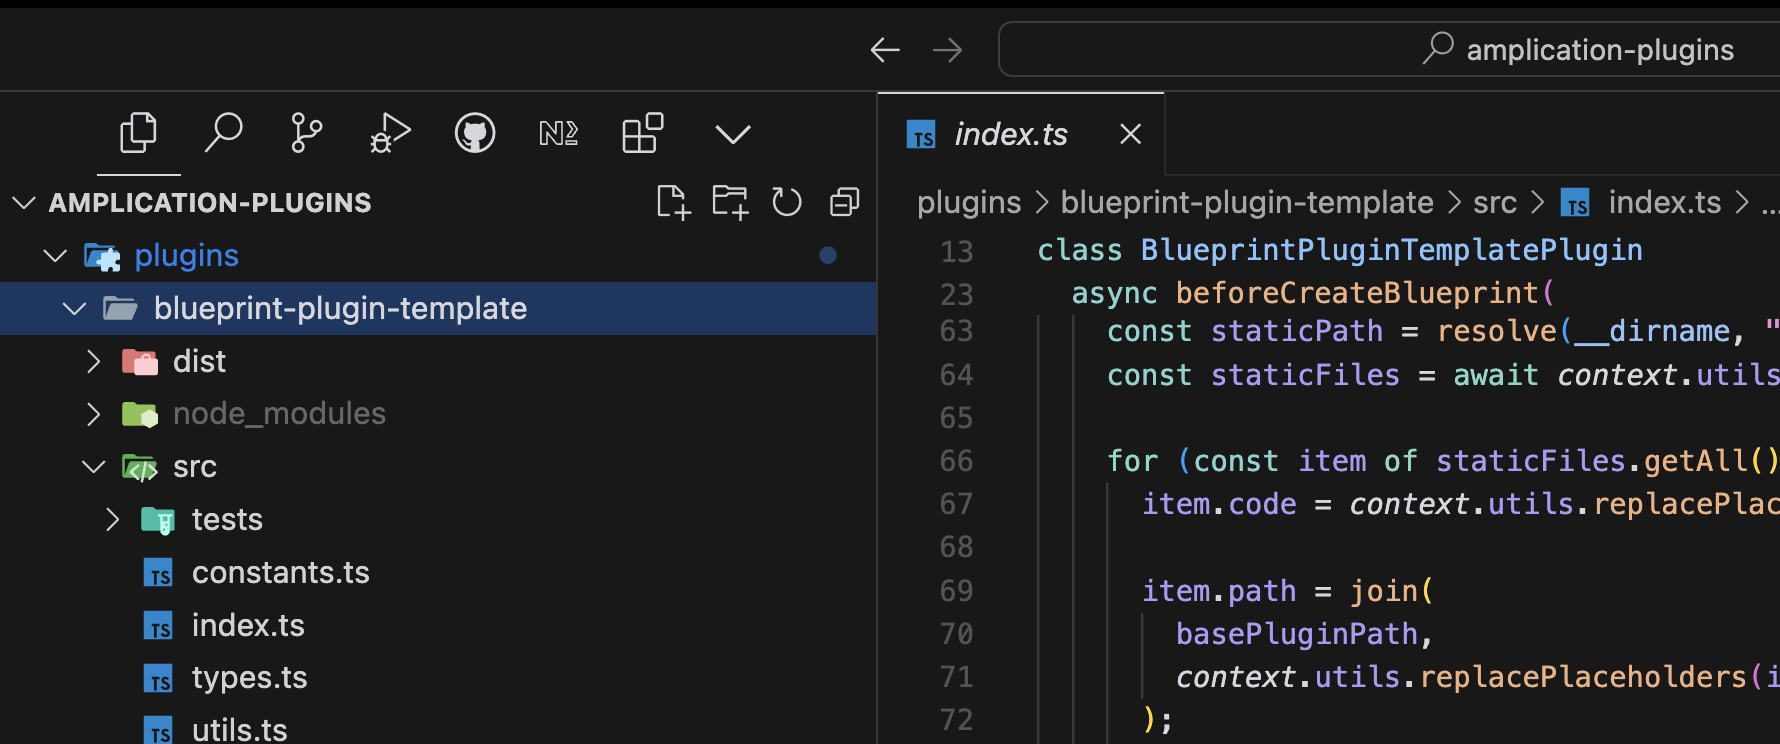
blueprint-plugin-template.Install Dependencies and Build the Plugin
Execute the following commands to install dependencies and build the plugin
Commit and Push the Changes
Commit the copied template files to Git and push them to the repository:
Create a New Blueprint in Amplication
In Amplication, create a new blueprint named “Amplication Plugin”.
This blueprint will serve as a foundation for generating new plugins.
Register the Plugin in the Private Plugins List
Register the newly created plugin in the private plugins list and associate it with the “Amplication Plugin” blueprint.Then, either add a new version of the plugin, or enable the
@dev version - and publish the plugin.Create New Plugins Using the Registered Plugin
Follow these steps to create a new plugin using the registered Blueprint Plugin Template.Create a New Resource
Create a new resource using the
“Amplication Plugin” blueprint.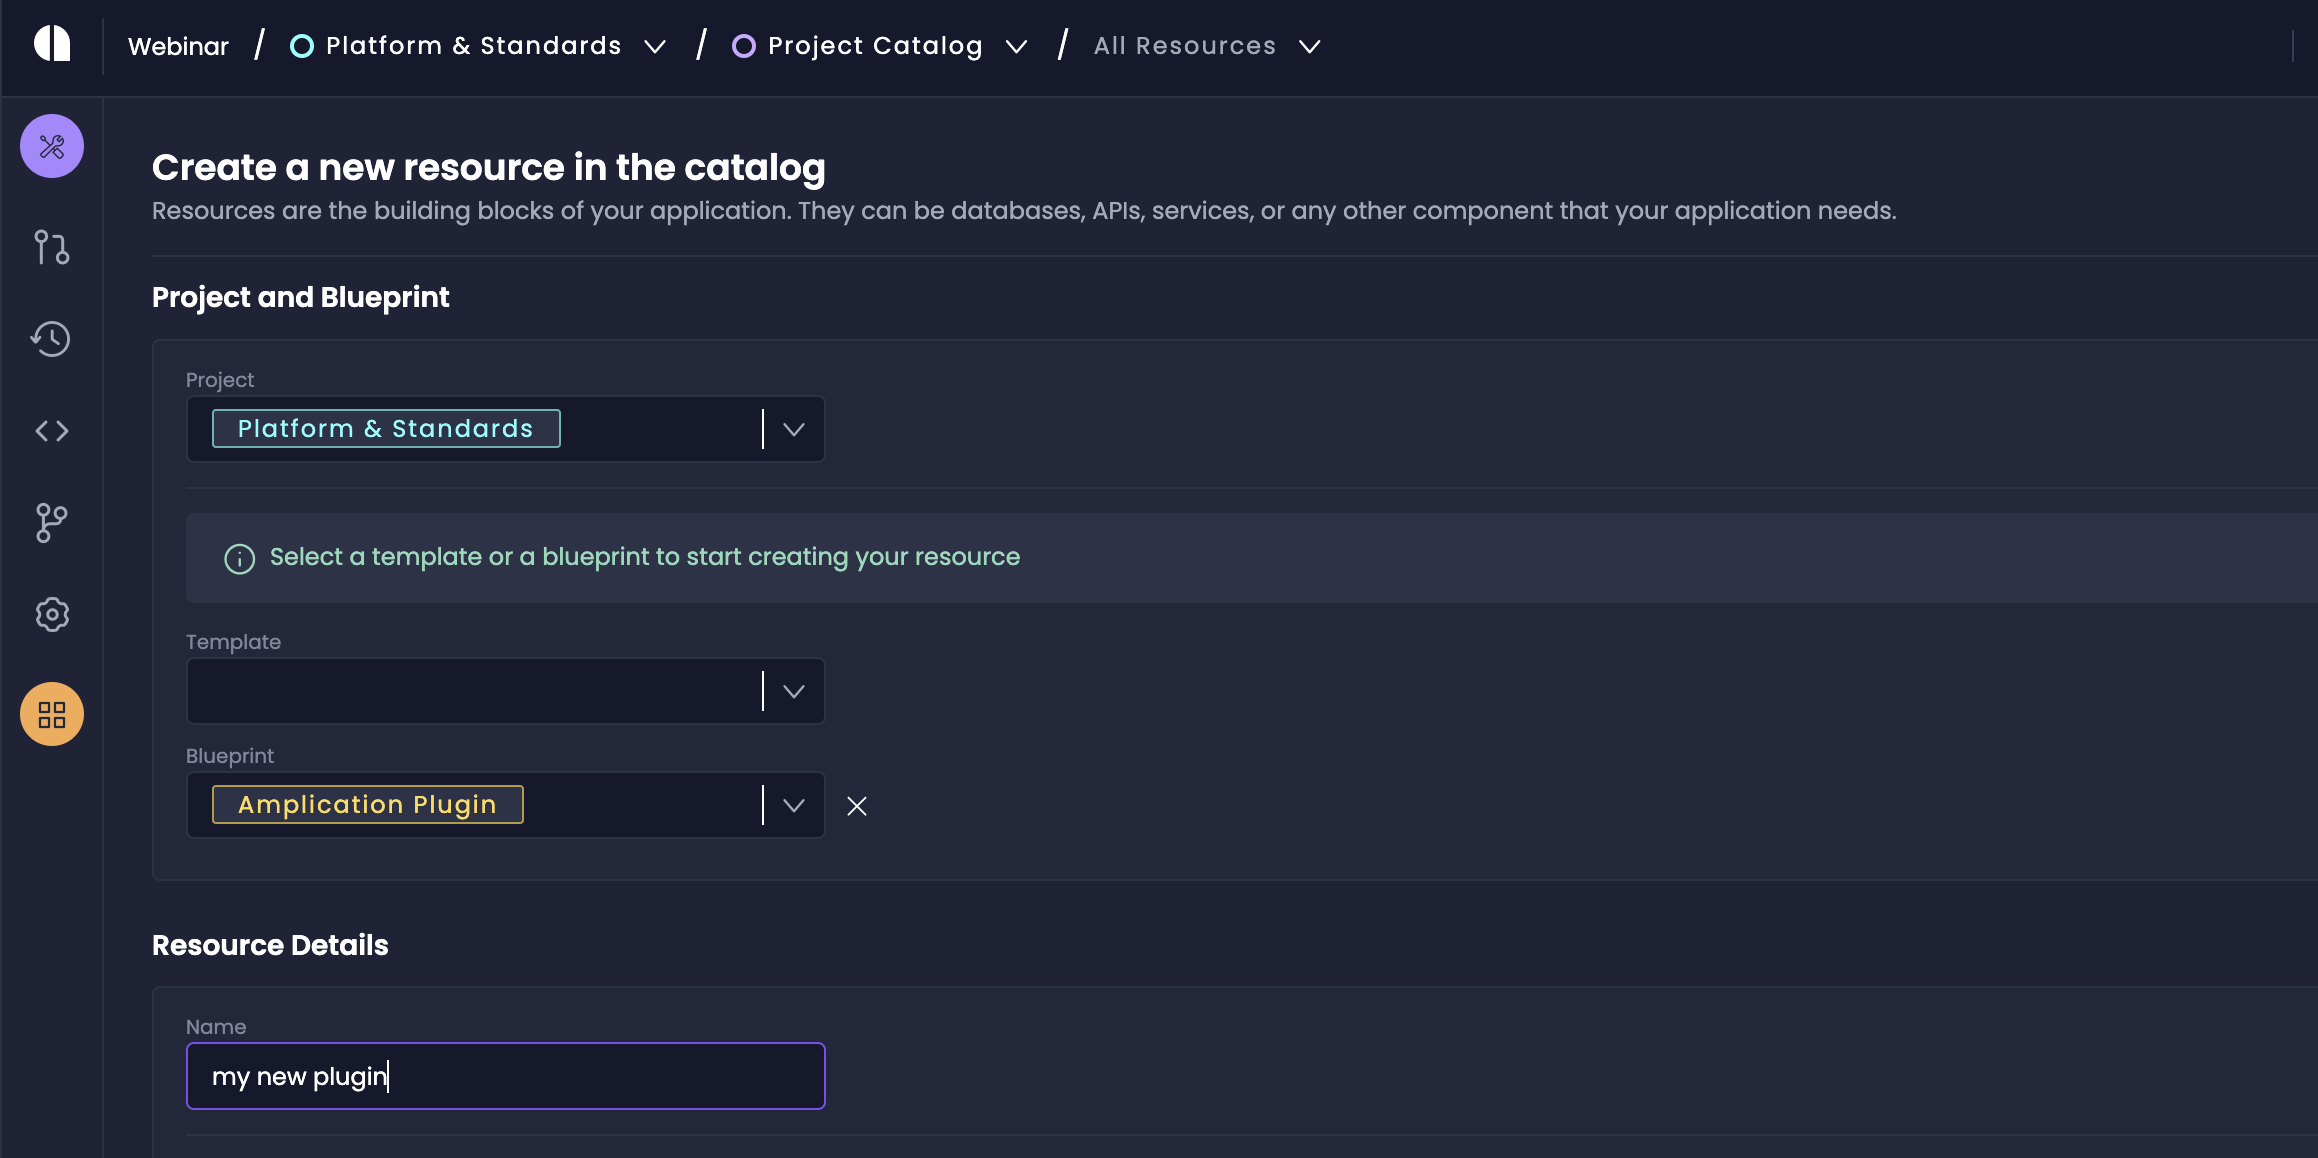
Name Your Plugin and create the resource
Provide a name for the new plugin, e.g.,
Java Redis.Click on Create ResourceThe plugin name can include spaces and will be automatically formatted
appropriately during the generation process.
Install the Required Plugin
Go to the Plugins tab in the new resource and install the Blueprint
Plugin Template plugin.
Generate the Code
Click Generate Code to have Amplication generate the boilerplate for your
new plugin in your plugin repository.
To simplify plugin creation, you can create a template using the
Amplication Plugin blueprint that includes the Blueprint Plugin Template
plugin.