Documentation Index
Fetch the complete documentation index at: https://docs.amplication.com/llms.txt
Use this file to discover all available pages before exploring further.
Why Publish Plugin Versions?
Publishing plugin versions is crucial for maintaining control and stability in your Amplication environment. It allows you to:Establish Stable Releases
Publishing creates distinct, versioned releases of your plugin. This ensures that when teams use your plugin, they are leveraging a known, tested, and stable version.
Control Updates and Changes
By publishing specific versions, you prevent unintended breaking changes from your ongoing development from immediately impacting services using your plugin. Teams can choose when to update to newer published versions.
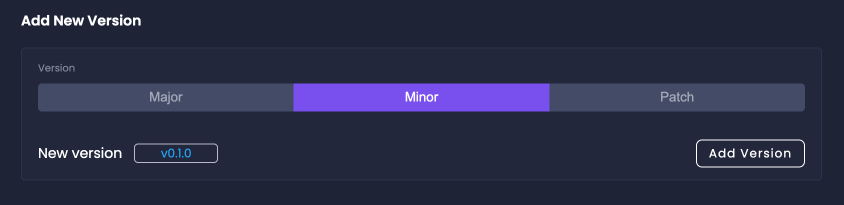
Step 1: Add a New Plugin Version in Amplication
Next, you’ll add a new version entry for your plugin within the Amplication Platform Console. This version will correspond to a specific tag in your Git repository in the next step.Navigate to Private Plugins
Ensure you are in the Private Plugins tab in your Platform Console and have selected your plugin.
Step 2: Tag Your Git Repository with the Version
Now, you need to tag your plugin’s Git repository to associate a specific commit with the version you just added in Amplication. Amplication uses these tags to identify plugin versions during code generation.Navigate to Your Plugin's Local Repository
Open your terminal and navigate to the root directory of your private plugin’s Git repository.
Create a Git Tag
Use the
git tag command to create a tag. The tag format must be: your-plugin-id@version-number. Replace your-plugin-id with your actual Plugin ID (the folder name of your plugin) and version-number with the version you noted in the previous step (e.g., 0.1.0).Step 3: Publish the Plugin Version in Amplication
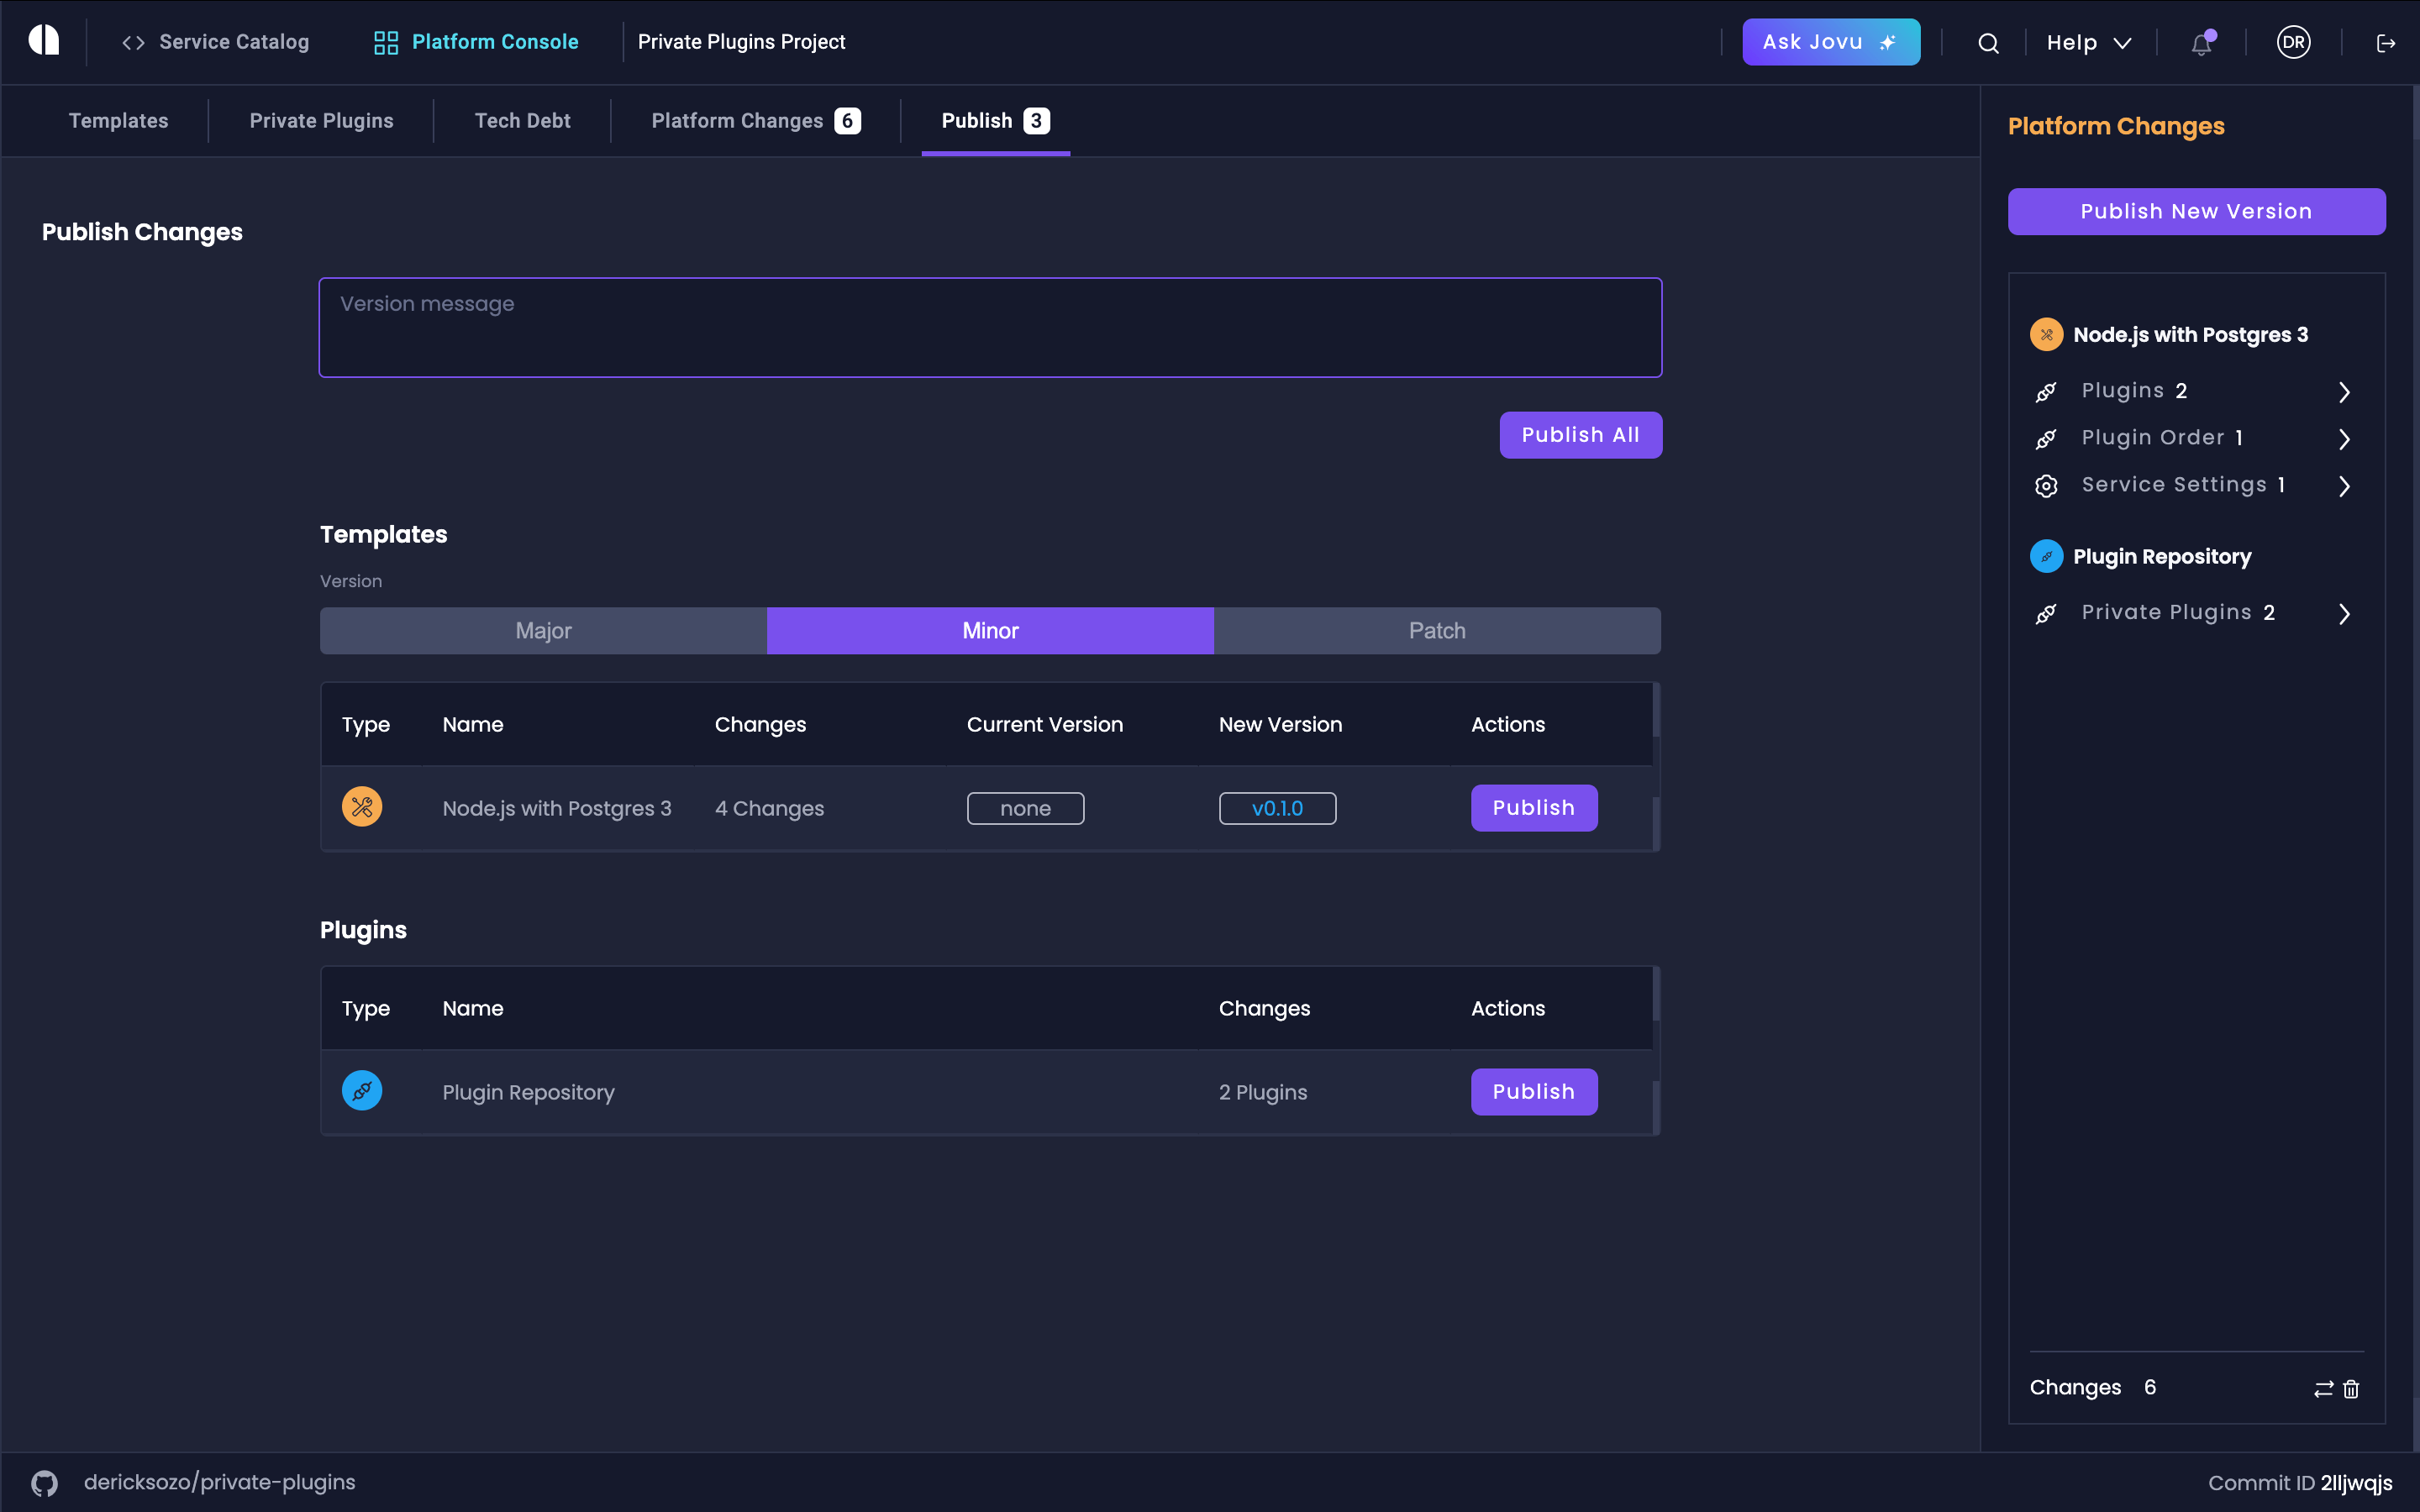
Finally, you need to publish the version through the Amplication Platform Console to make it officially available.Click 'Publish New Version'
In the Platform Changes sidebar (usually on the left), click on Publish New Version.
Add an Optional Version Message
You can add a message describing the changes in this version for clarity (optional but recommended).
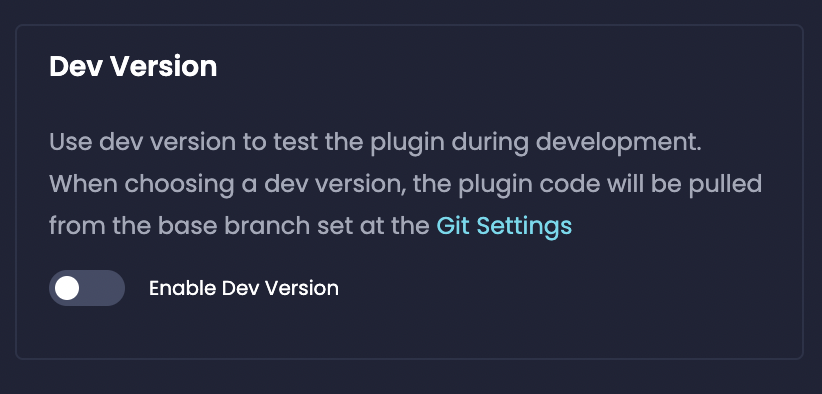
Step 4: Disable Dev Versions (Optional)
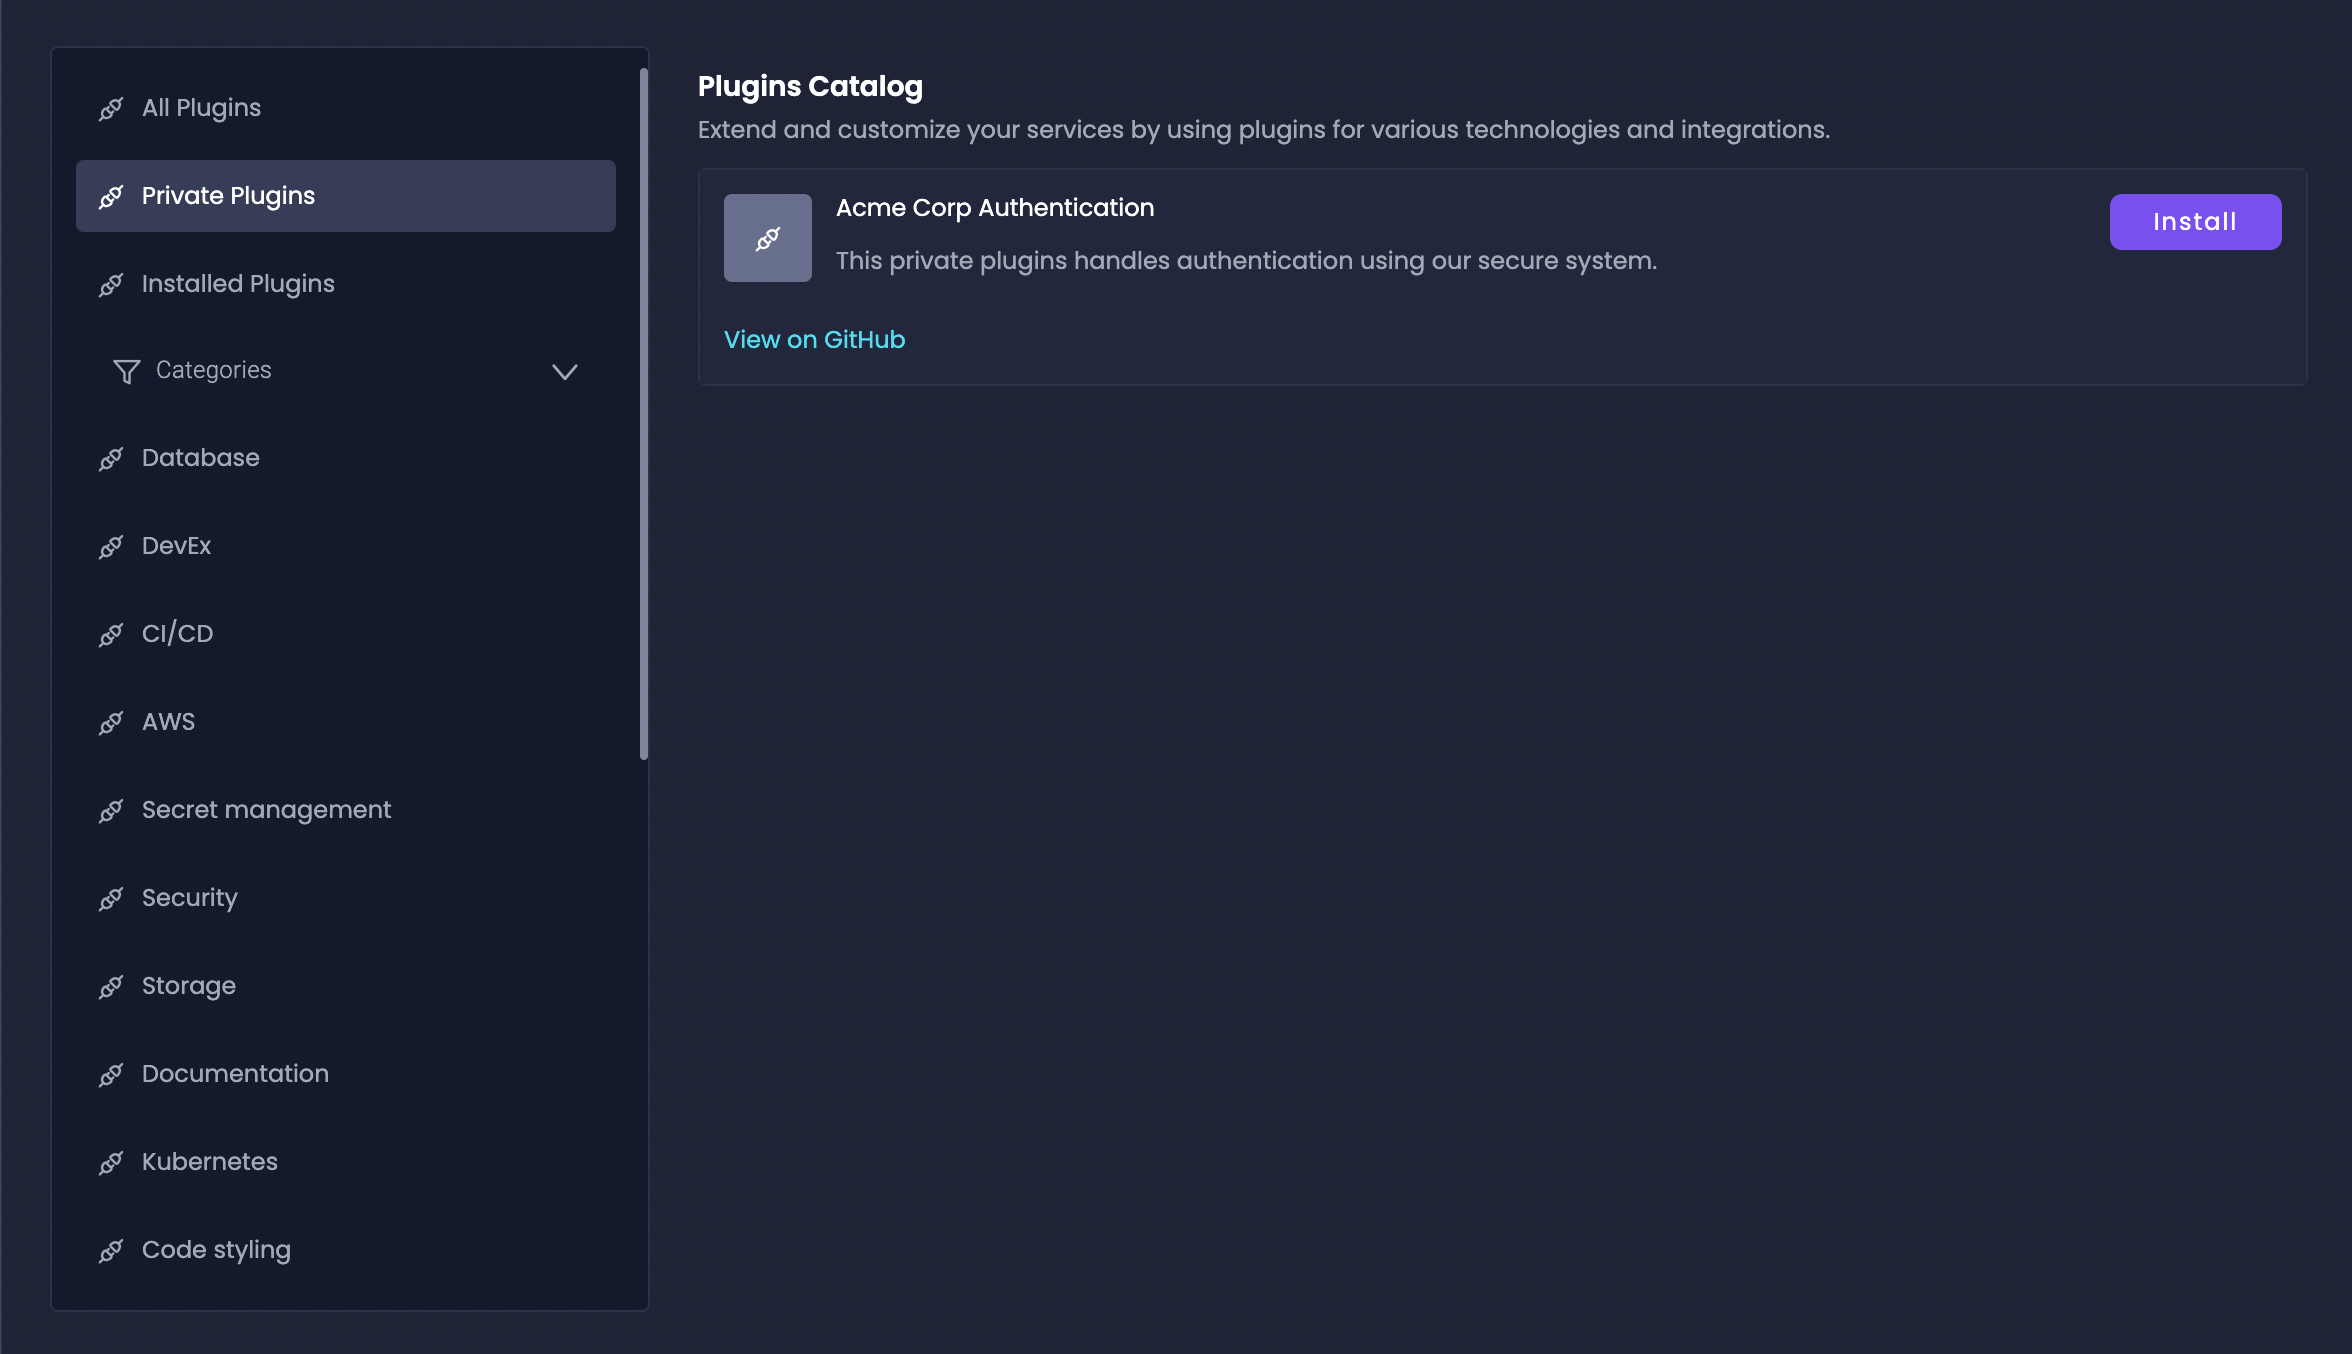
To absolutely make sure you are publishing a stable version of your plugin, you can optionally disable Dev Versions, so that resources can’t select the @dev version. This ensures that you are publishing a stable version based on a specific point in your codebase, not the potentially changing code in your development branch.Navigate to Private Plugins
Go to your project’s Platform Console from the top header and click on the Private Plugins tab.
When using your plugin in services or templates, you will now see your newly published version listed in the version dropdown.