Documentation Index
Fetch the complete documentation index at: https://docs.amplication.com/llms.txt
Use this file to discover all available pages before exploring further.

By default, Amplication uses a
User entity as the Authentication entity.
When you enable an authentication plugin, Amplication automatically creates this User entity (or prompts you to create it) with all the necessary fields.
You can also use your own custom entity, as long as it includes the required fields.Why is the Authentication Entity Required?
Authentication plugins in Amplication, such as the NestJS Auth Module for Node.js Blueprints and ASP.NET Core Identity for .NET Blueprints, rely on a properly defined Authentication entity. The plugins use this entity to manage user logins, permissions, and overall security. Without a correctly configured Authentication entity, authentication plugins won’t work. Essentially, the Authentication entity provides a:Standardized User Model
You get a consistent structure for user data across all your Amplication services.
Simplified Setup
Amplication handles the core plumbing, so you don’t have to write authentication boilerplate from scratch.
Plugin Compatibility
It’s the bedrock for Amplication’s authentication plugins, guaranteeing seamless integration.
Change the Default Authentication Entity
You have the flexibility to designate a different entity as your Authentication entity if the defaultUser entity doesn’t perfectly fit your data model.
Access Authentication Entity Settings
Find and click on the Authentication Entity settings in the left side bar.
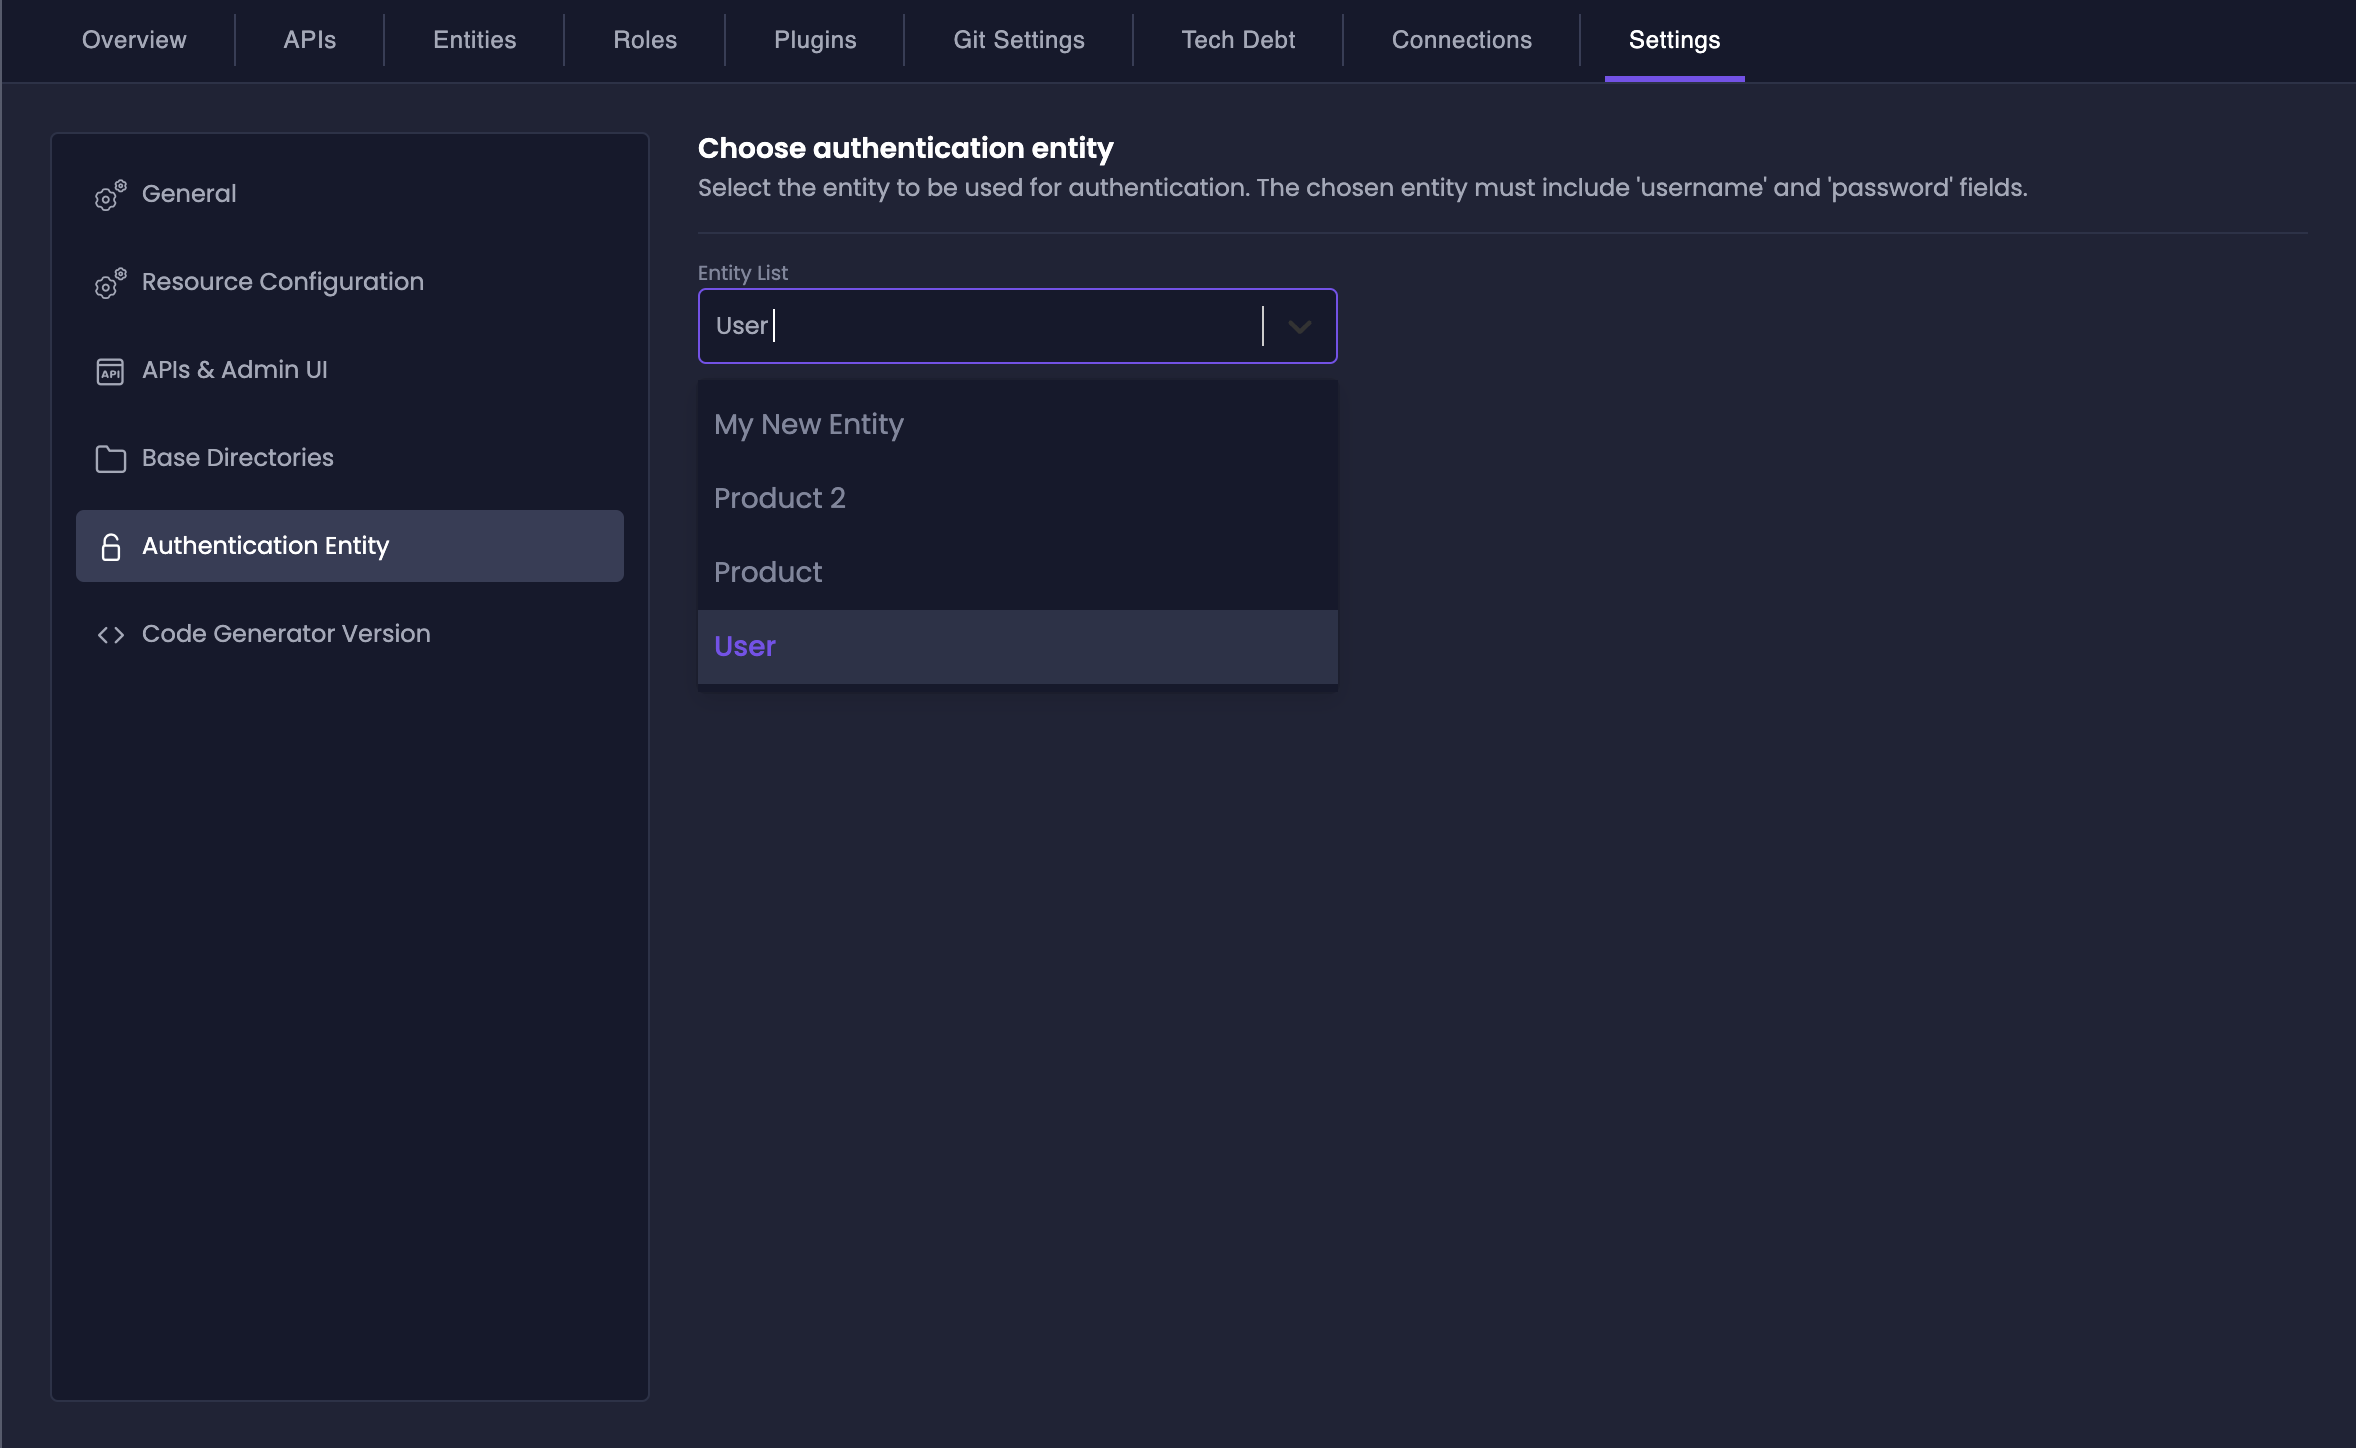
Each Authentication plugin may require different fields for proper functionality.
If the required fields are missing, your authentication plugins will not function correctly.
You may find a detailed message in the build log.
See the Plugin settings page, or the plugin documentation for more details.
Add Default User Entity

Required Fields
To work smoothly with authentication plugins, your Authentication entity needs specific fields.| Field | Required | Unique | Description |
|---|---|---|---|
id | Yes | Yes | Auto-generated unique identifier |
createdAt | Yes | No | Automatic timestamp on creation |
updatedAt | Yes | No | Automatic timestamp on modification |
username | Yes | Yes | Login identifier (searchable) |
email | Yes | Yes | User’s email address (searchable) |
password | Yes | No | Securely hashed credentials |
roles | Yes | No | Permission group assignments |
firstName | No | No | User’s first name (searchable) |
lastName | No | No | User’s last name (searchable) |
If you use the default
User entity, Amplication automatically sets these up for you.Delete the Authentication Entity
While you can typically delete any entity you create in Amplication, the Authentication entity is a bit different because of its central role in security. To delete the Authentication entity, you must first disable all authentication plugins in your service. This means disabling:- NestJS Auth Module (and any other authentication plugins) for resources based on the Node.js blueprint.
- ASP.NET Core Identity plugin for resources based on the .NET blueprint.
Disable Authentication Plugin
Go to your service’s Plugins page. Disable the authentication plugin(s) for your service type.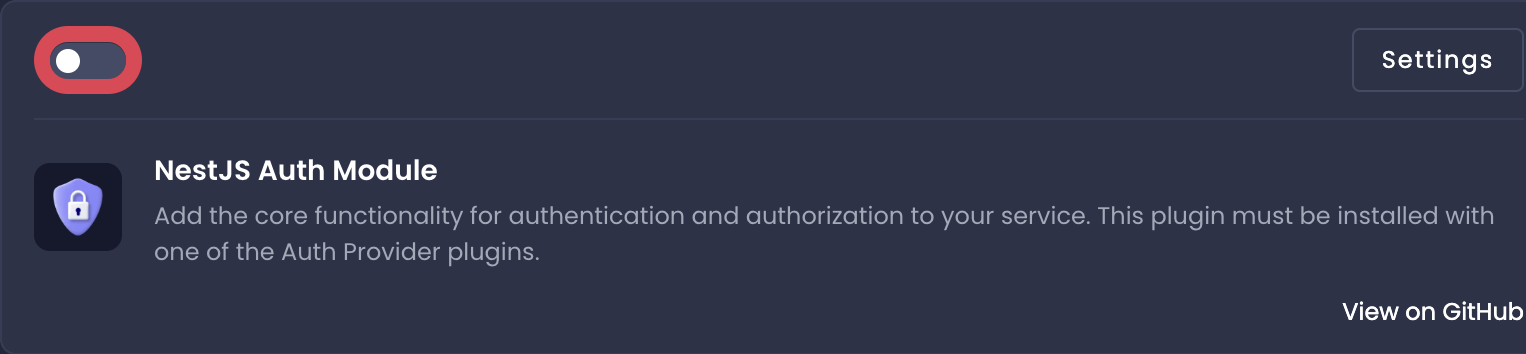
- Node.js: Toggle the NestJS Auth Module to the “off” position. Disable any other authentication plugins you may have installed.
- .NET: Disable the ASP.NET Core Identity plugin.

The Authentication entity is now removed from your resource.
You’ll have to re-enable your authentication plugin and potentially recreate the Authentication entity if you need authentication again in the future.