Why Day One Matters for Developer Velocity
Modern development teams need to move fast without compromising quality. Amplication’s Day One solutions address platform teams’ challenges:Eliminate Boilerplate
Generate 100% of your service foundations including databases, APIs, auth, CI/CD pipelines, and more.
Enforce Compliance
Bake security controls and architectural standards into every new service
AI-Powered Acceleration
Use natural language to create entities, relationships, and business logic using Jovu.
Multi-Cloud Ready
Generate services pre-configured for AWS, Azure, or GCP ecosystems with our plugins.
Core Day One Capabilities
Resource Scaffolding
Resource Scaffolding
Generate complete backend services in minutes with:
- Pre-configured foundations
- Auto-generated REST & GraphQL APIs
- Production-ready authentication
- Database-agnostic ORM layers
Data Modeling
Data Modeling
Visual entity relationship modeling with:
- AI-assisted schema creation
- Automatic migration scripts
- Field-level permissions
- Cross-service relationships
Schema Upload
Schema Upload
- Import existing database schemas
- Automatically generate entity models
- Map relationships and constraints
- Support for PostgreSQL, MySQL, MongoDB, and others
- Preserve existing database structure
Plugin Integration
Plugin Integration
- Install plugins from the public catalog
- Extend functionality with authentication providers
- Add custom business logic and workflows
- Implement organization-specific standards
- Use private plugins for internal use
CI/CD Integration
CI/CD Integration
Enterprise-grade Git workflows featuring:
- Automated PR generation
- Multi-repo strategies
- Audit-ready change tracking
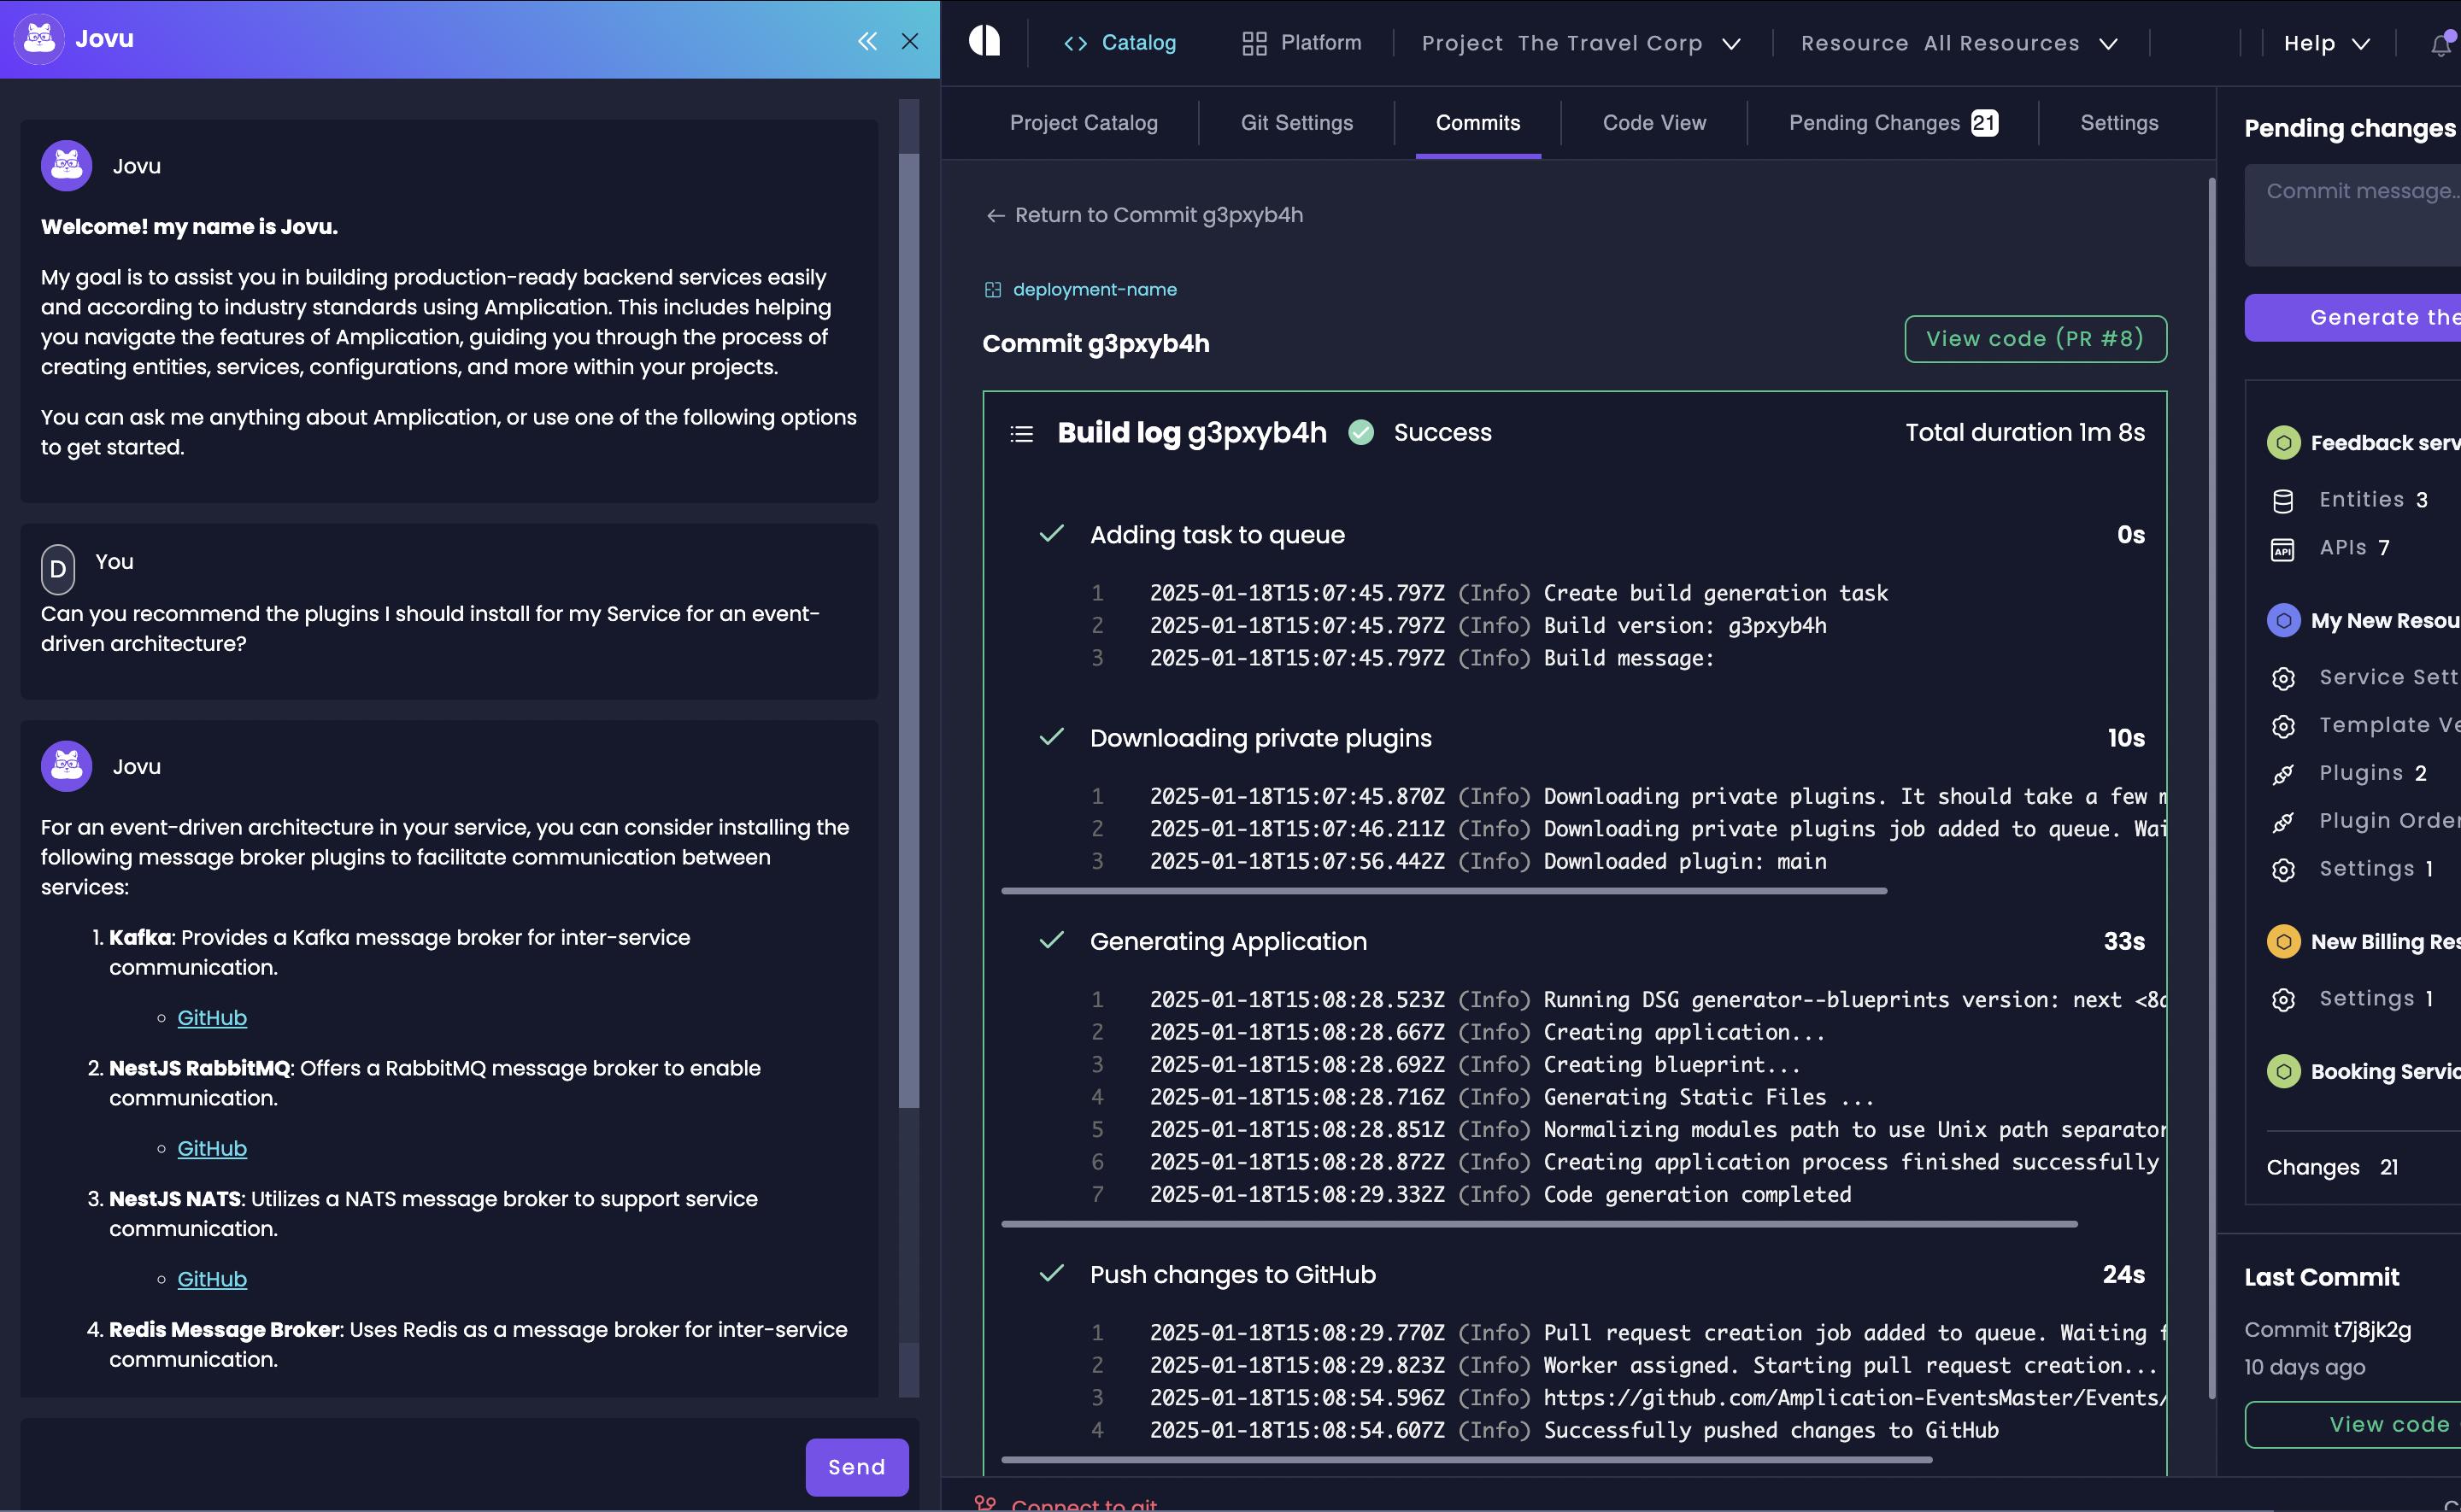
AI Assistant
AI Assistant
Jovu AI Copilot capabilities:
- Natural language to code generation
- Architectural pattern suggestions
- Technical debt detection
- Context-aware documentation
Strategic Benefits for Development Teams
Start Building Today
Create First Resource
Generate a production-ready backend in minutes
Explore AI Assistant
Use natural language to build complex data models