Set Up Entities On Your Service
One of the core building blocks of Amplication is the data model, known as Entities, where your service's data is stored. Each entity has a set of fields and properties, and you can also set its relation to other entities.
This introductory guide will walk you through creating and configuring new entities for your service.
Let's get started.
Prerequisites
If you haven't set up your service yet, create your first service using our Service Creation wizard.
Step 1: Create an Entity
- On your Service's Overview page, click Go to Entities, or from the main menu (left sidebar) click the Entities icon.

The Entities page opens. Here you see all the entities in your application.

When you initially established your service using the service creation wizard, you had the choice to incorporate entities into your data model from an Amplication template, or leave it empty.
If you opted not to use a template, you'll find your Entities screen with only one entity, User. This entity auto-generated when you created the new service.
In this example, we'll now add another entity called Project.
- Click Add Entity.
- In the New Entity dialog, type
Project. - Click Create Entity.
When creating an Entity, make sure you do not use a reserved name for the name of the Entity or for any of its fields. Check our list of reserved names on GitHub.

You now have a new entity named Project. Notice that the added entity comes with auto-generated values such as “Plural Display Name” and some default fields – ID, Created At, and Updated At.
Step 2: Add Entity Fields
To describe your project add some new fields. For this example, we will add the following fields:
- Name – for saving the project name
- Description – for saving a more detailed description of the project
- Start Date – for saving the date on which this project starts
- Owner – for assigning a user to be an owner of the project
You might find it easier to first add all the fields you want, one after another, and only afterwards set the properties of each field.
Create the Name Field
- In the Entity Fields text box (above the list of fields), type “Name”.
- Click Add field (or just press Enter). The new field is added to the list and the field's property panel opens.
- Click the Required Field toggle to configure the Name field as required.
- Leave the defaults for the other properties (Searchable active, Data Type "Single Line Text", and Max Length "1000".)

All changes are saved automatically.
Create the Description Field
- In the Entity Fields text box type “Description”.
- Click Add field (or just press Enter). The new field is added to the list and the field's property panel opens.
- Leave the defaults (Required Field inactive Searchable active, Data Type "Multi Line Text", and Max Length "1000".)
If the Searchable setting is not activated, the search cannot be based on the field. The field visibility is determined by the settings on the Permissions tab.
For example, if the customer's email address is visible (permissions set to All Roles for search), but the field is not set as Searchable the user will be able to search for customers by name, phone, or any other field but not by email address. However, the results will still include the email address.
Create the Start Date Field
- In the Entity Fields text box type “Start Date”.
White spaces are supported, which is useful when you want to enter a descriptive field name. The value is saved as the field’s display name. In addition to the display name, each field has an auto-generated Name that does not contain spaces or special characters. This name is later used for the API endpoint and in other places in the generated code. If needed, you can manually change the field name in the field's properties panel.
- Click Add field (or just press Enter). The new field is added to the list.
- The field's property panel opens. Leave the defaults (Required Field inactive, Searchable active, Data Type "Date Time", and Time Zone "Local Time".)
Create the Owner Field
- In the Entity Fields text box type “Owner”.
- Click Add field (or just press Enter). The new field is added to the list and the field's property panel opens.
- Click the Required Field toggle to make the Owner field required.
- Change the Data Type from Single Line Text to Relation to Entity.
- In the Related Entity Id field select User.
After selecting User, a modal will appear telling you to create the relation to user. The opposite related field on User needs to be created to relate User back to Project.
Click on Create and proceed to Step 3.
The User entity will only exist, if you opted into Authentication when you created your service. Otherwise, you'll have to manually add authentication and create the User entity first.

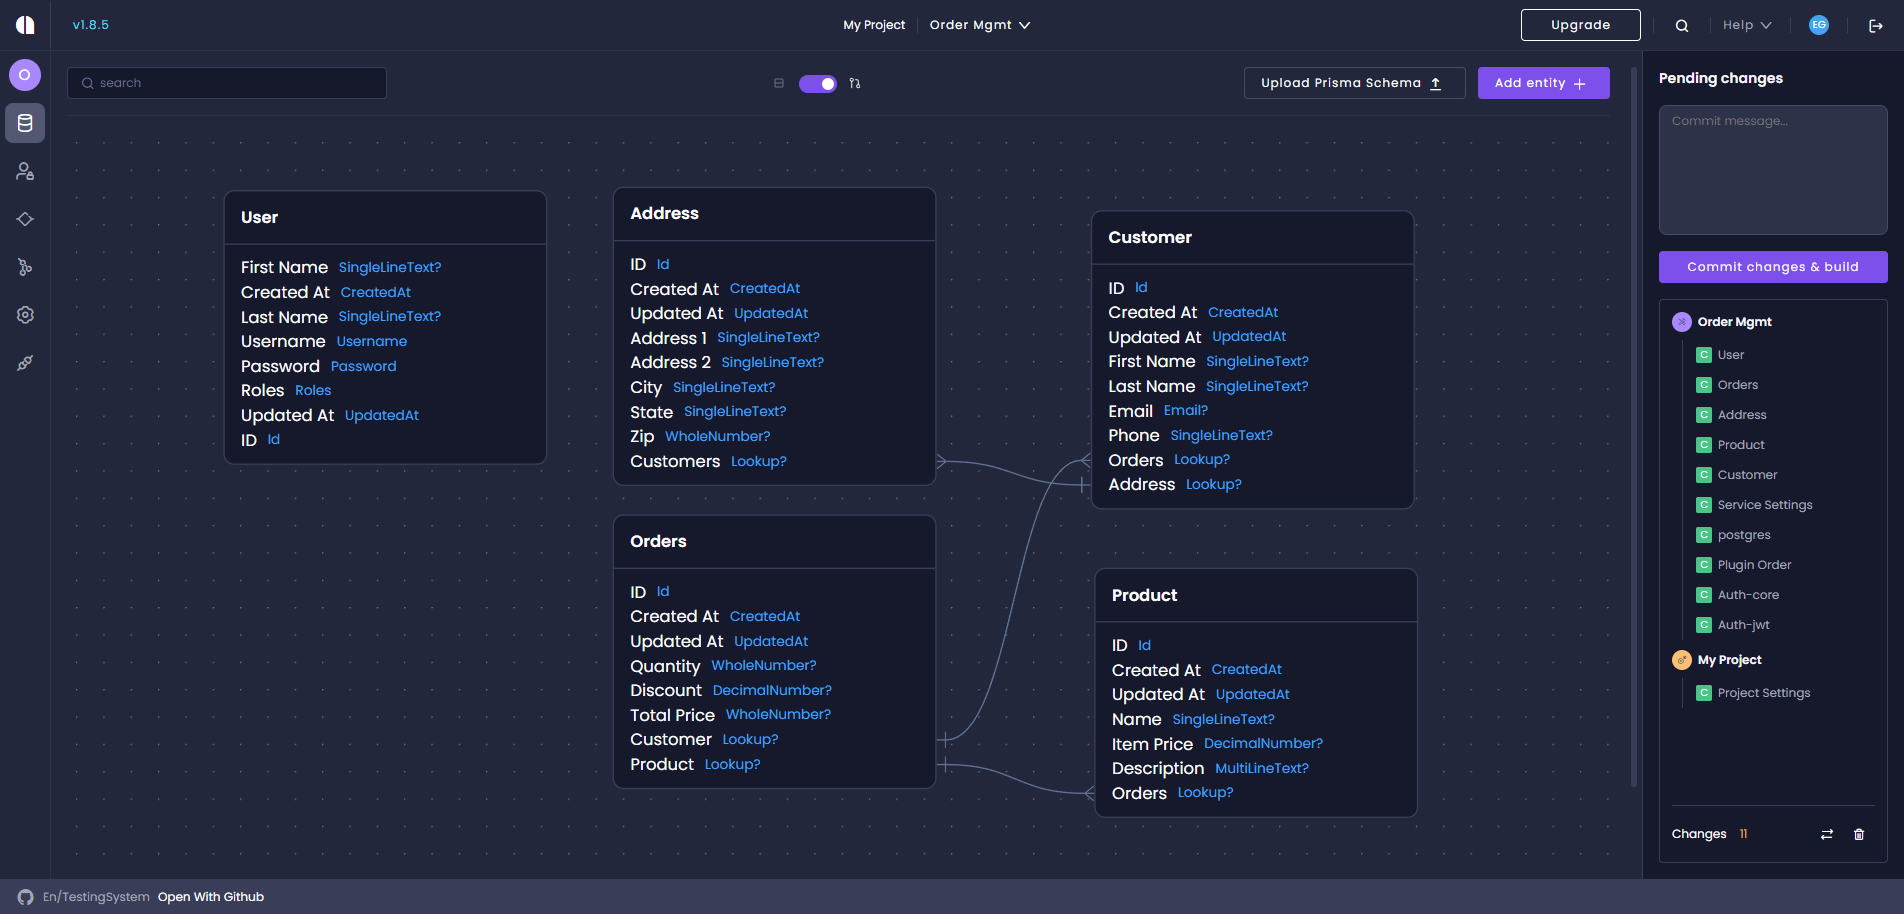
Step 3: Visualize Your Entities with ERD View
After you've set up your new entities, fields, and permissions, you can visualize their relationships with Amplication's ERD view.
To activate the ERD view:
- Navigate back to the Entities page of your service.
- In the center, to the right of the search bar, you'll find a toggle switch.
- Activate the toggle to enable the ERD view.
Next Steps
Now you know how to create database entities and fields. Let's take this further by learning how to set roles and permissions on your various entities.
Configure Roles and Permissions For Your Service
There's an alternative to manually creating entities and entity fields. Amplication's Import Prisma Schema feature lets you use your existing databases for a head start on development.